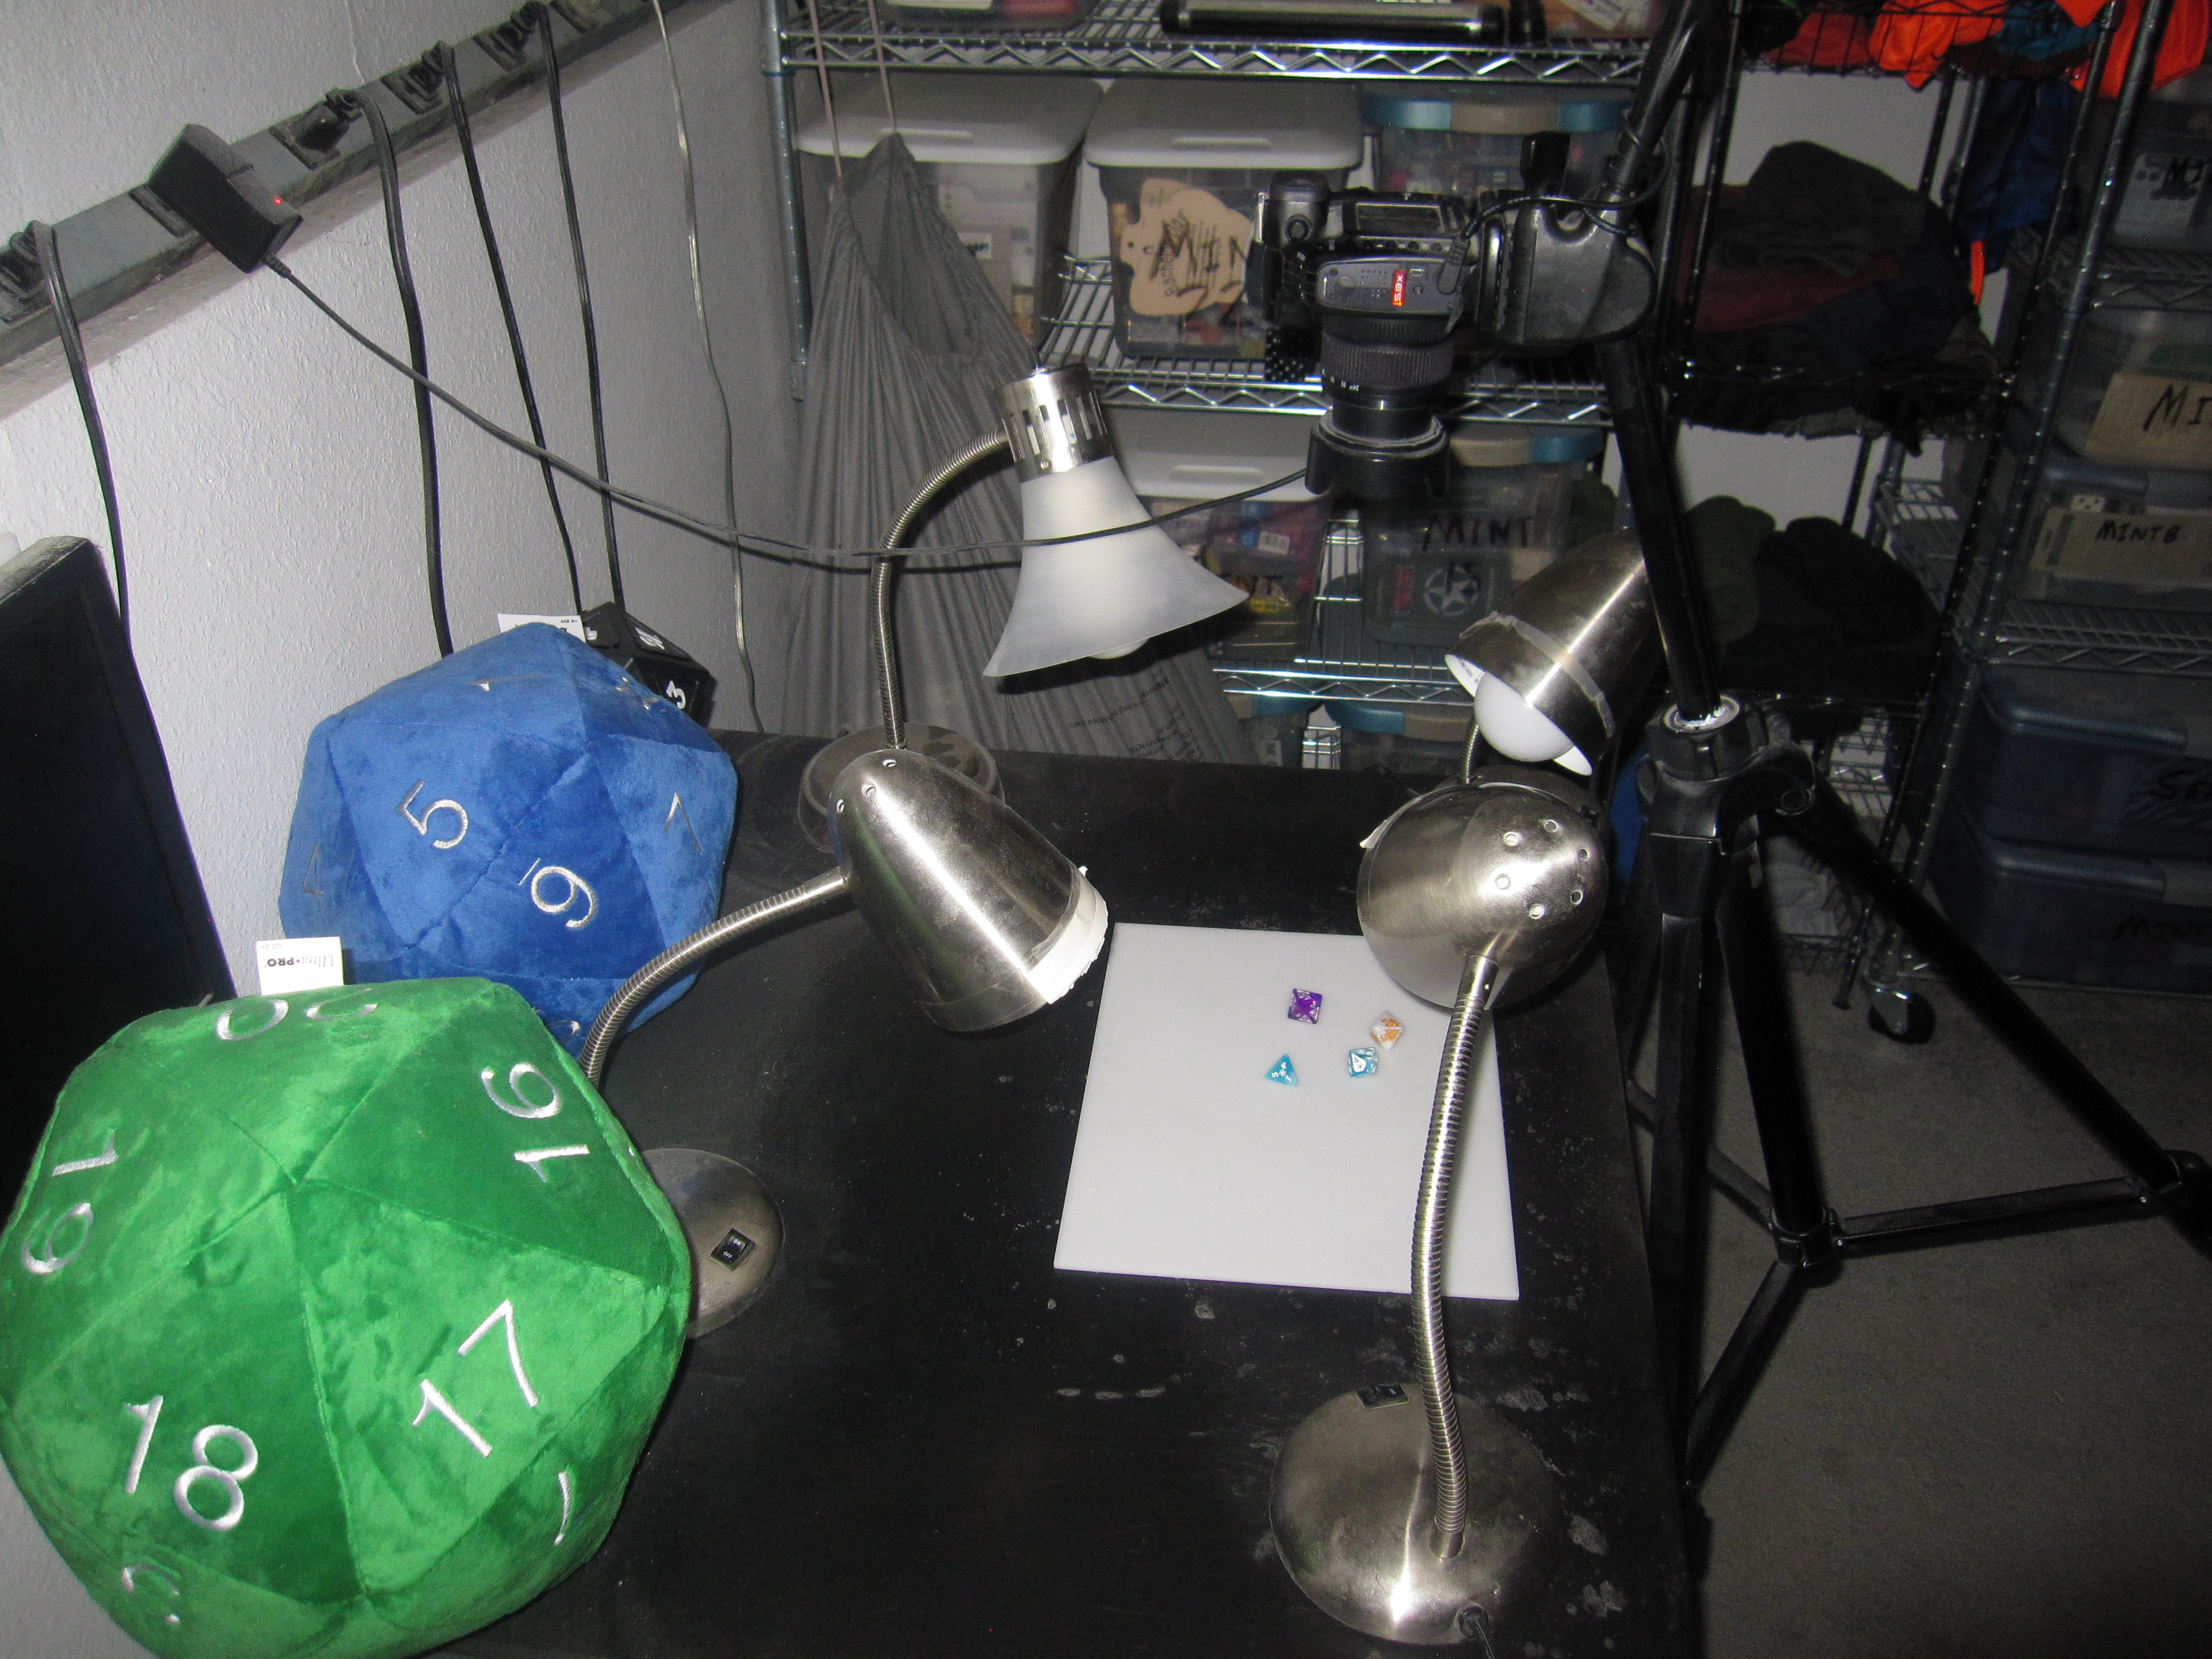
this is my camera setup
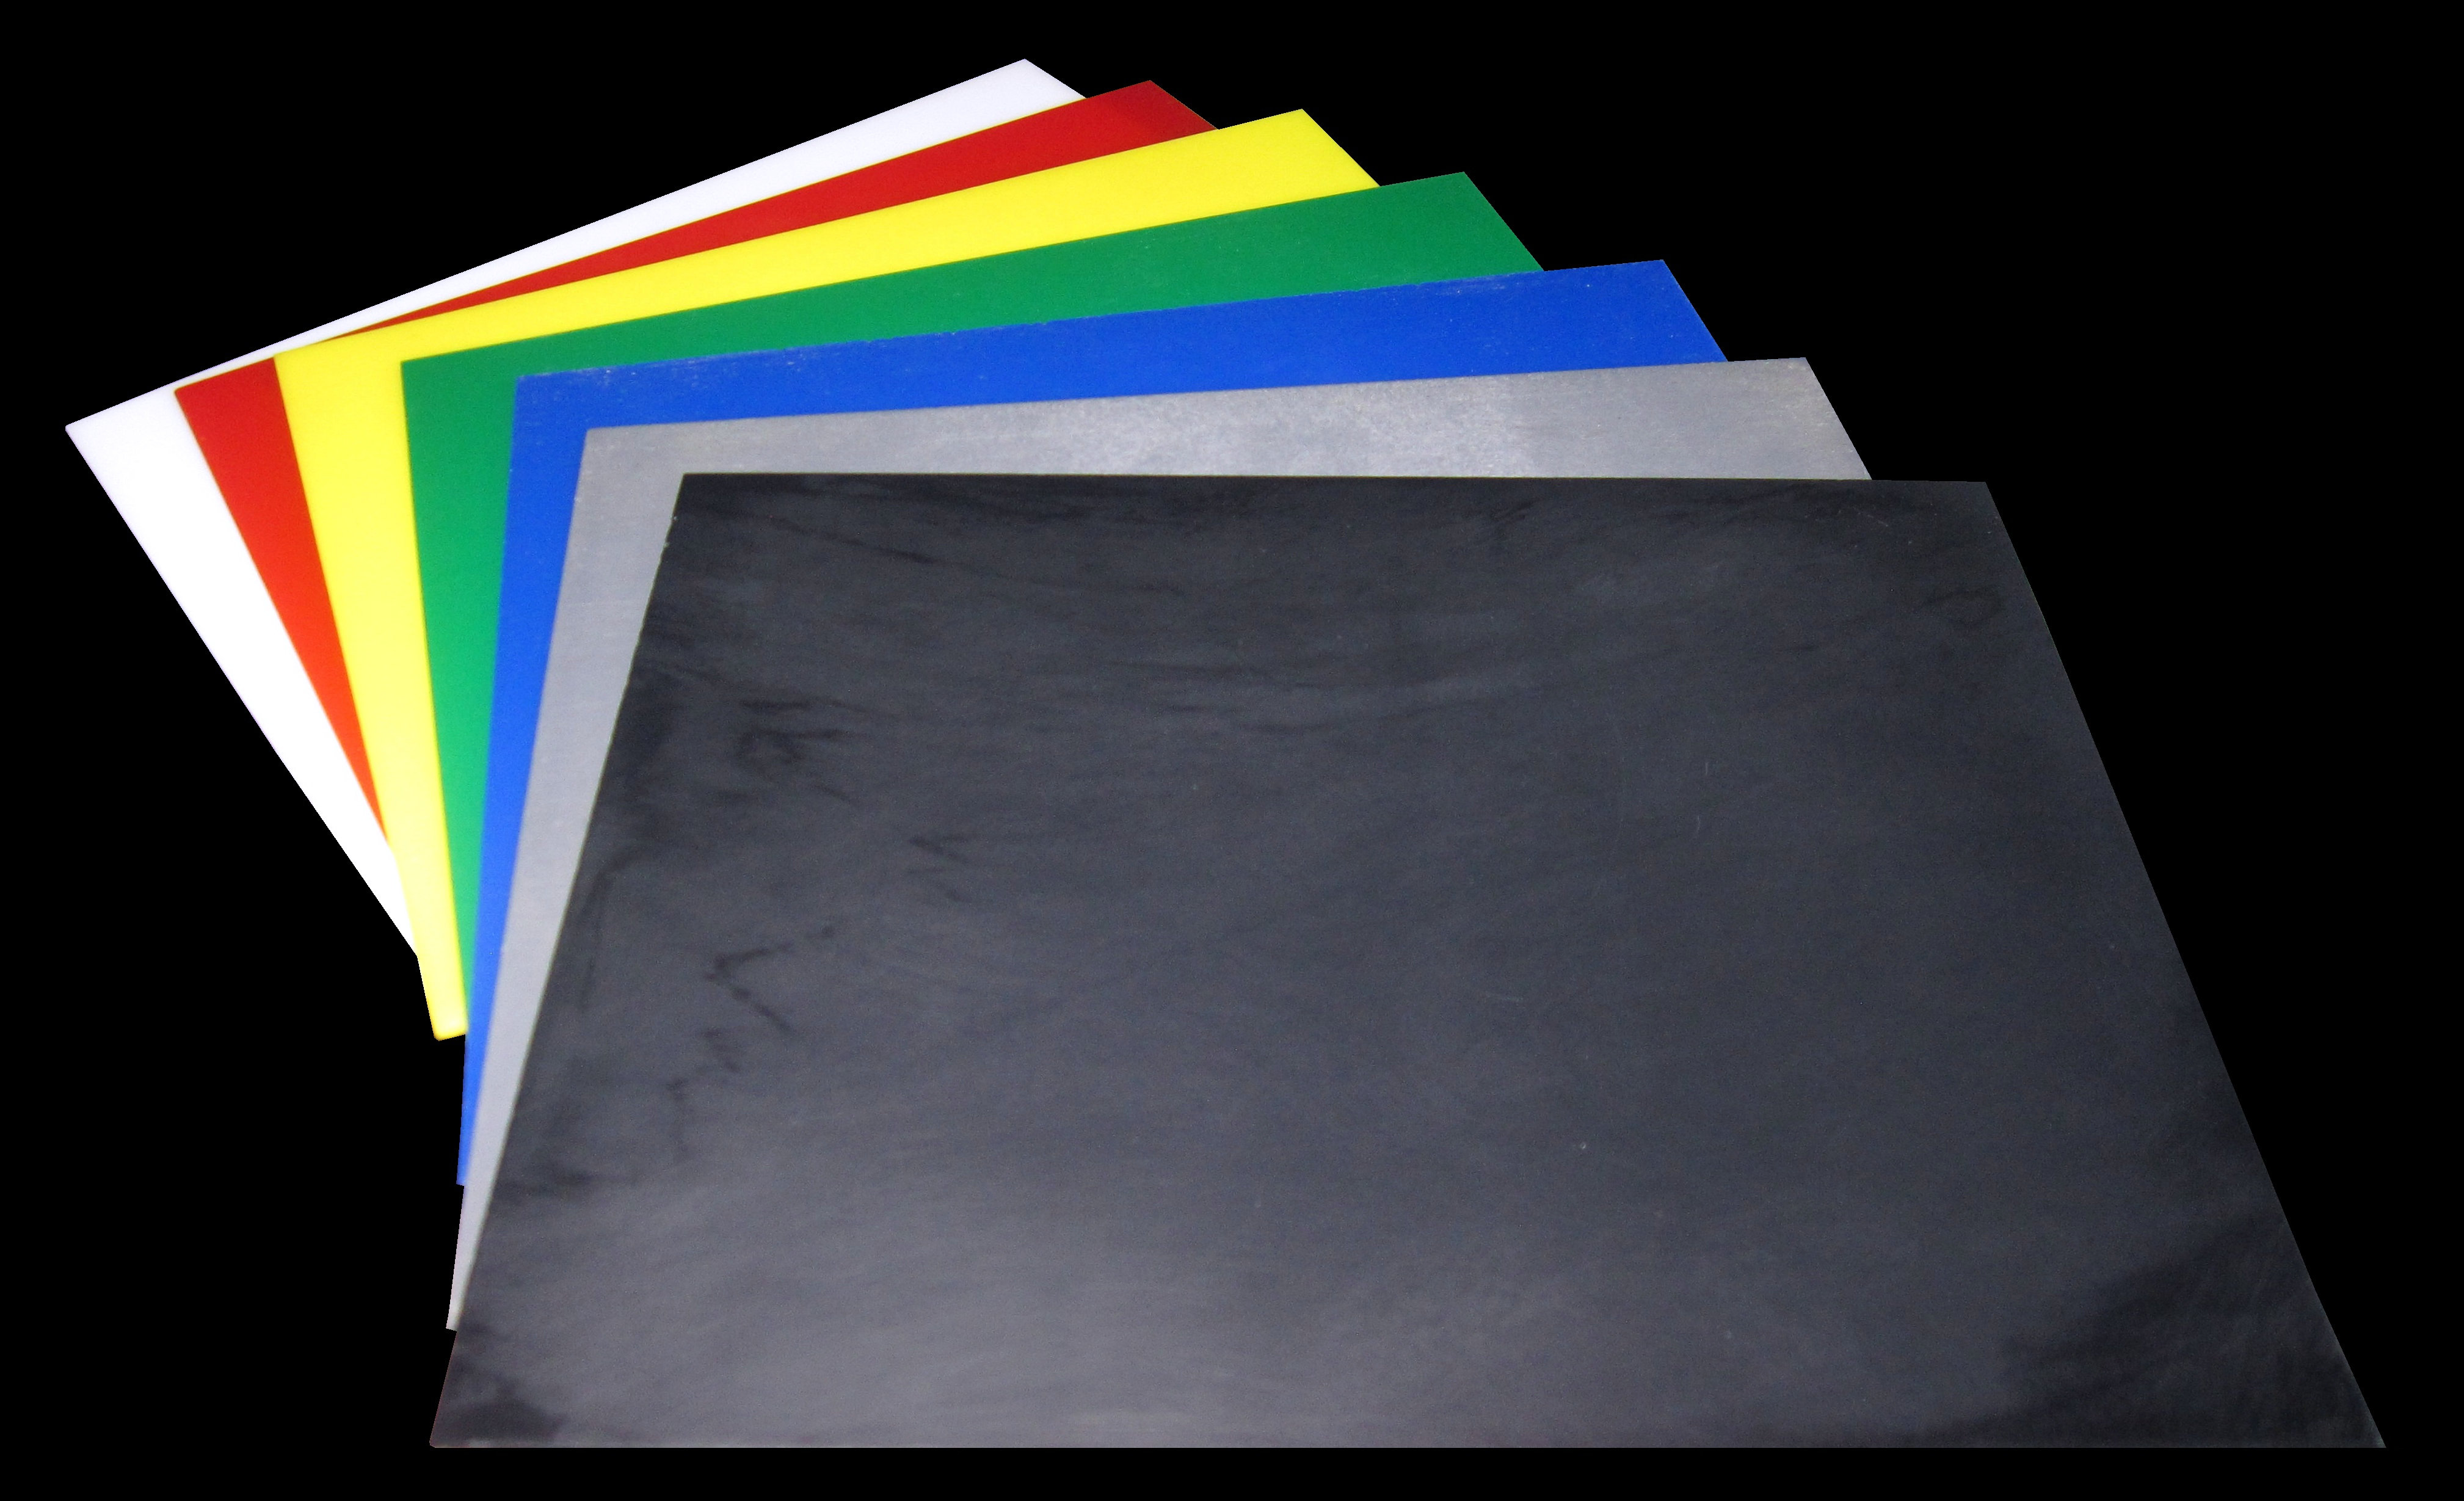
four 100 Watt equivalent LED bulbs arranged at the corners of a rectangular piece of colored (White / Red / Yellow / Green / Blue / Grey / Black) plastic
I use a floor based tripod (Slik 2000)
with only 2 legs extended so I do not trip over the 'back' leg
leaning against the 'shooting' table
with the camera set at optimal height (that took me a couple of years to determine) ...
I shoot at 100mm zoom with F8
and exposure time between 1/10 and 1/40th of a second ... usually
NO FLASH
MACRO (Flower symbol) Mode (if the camera allows it)
Woah that's very detailed
As to cameras ...
normally you could find this out by downloading the photo
and looking at the EXIF data ... BUT ...
I now use photo templates for the ruler ... so I am not uploading the original photos so the EXIF data is removed
I use ... for most photos ...
a Kodak P880 (8MP) point and shoot with digital zoom of 0 ... 1.4 or 2x
a Kodak P880 (8MP) point and shoot with digital zoom of 0 ... 1.4 or 2x
you can see it in the above photo
next I use a Canon SD 960 (12.5mp) ... also a
point and shoot ...
but I use this for hand held shots and conventions since I am able to clip it to my backpack
I used the 960 to take the above photo
but I use this for hand held shots and conventions since I am able to clip it to my backpack
I used the 960 to take the above photo
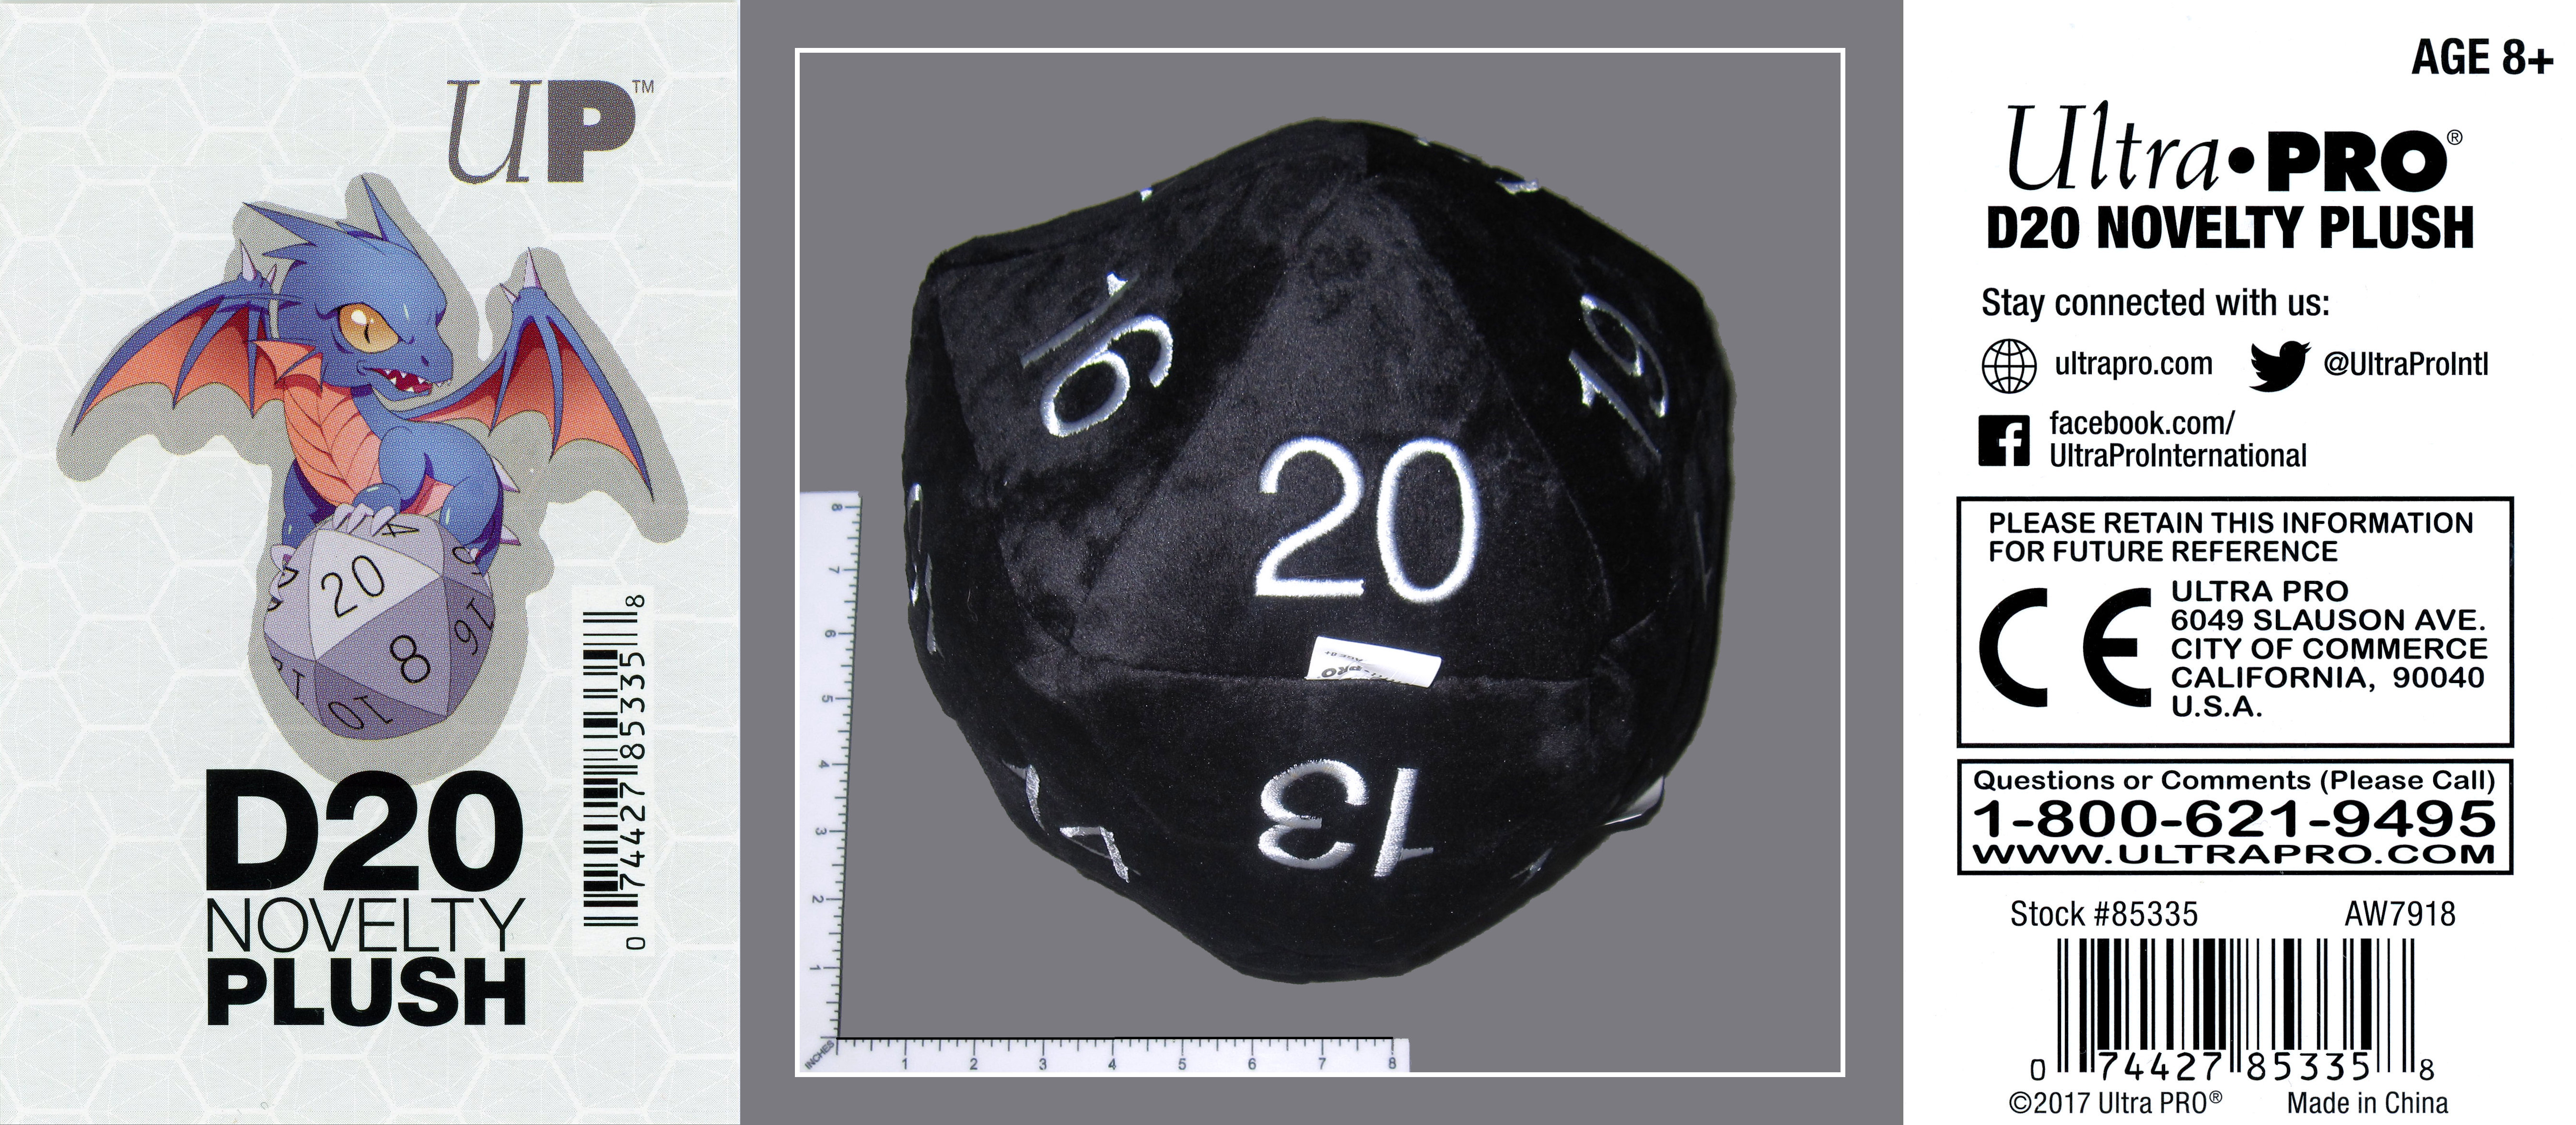
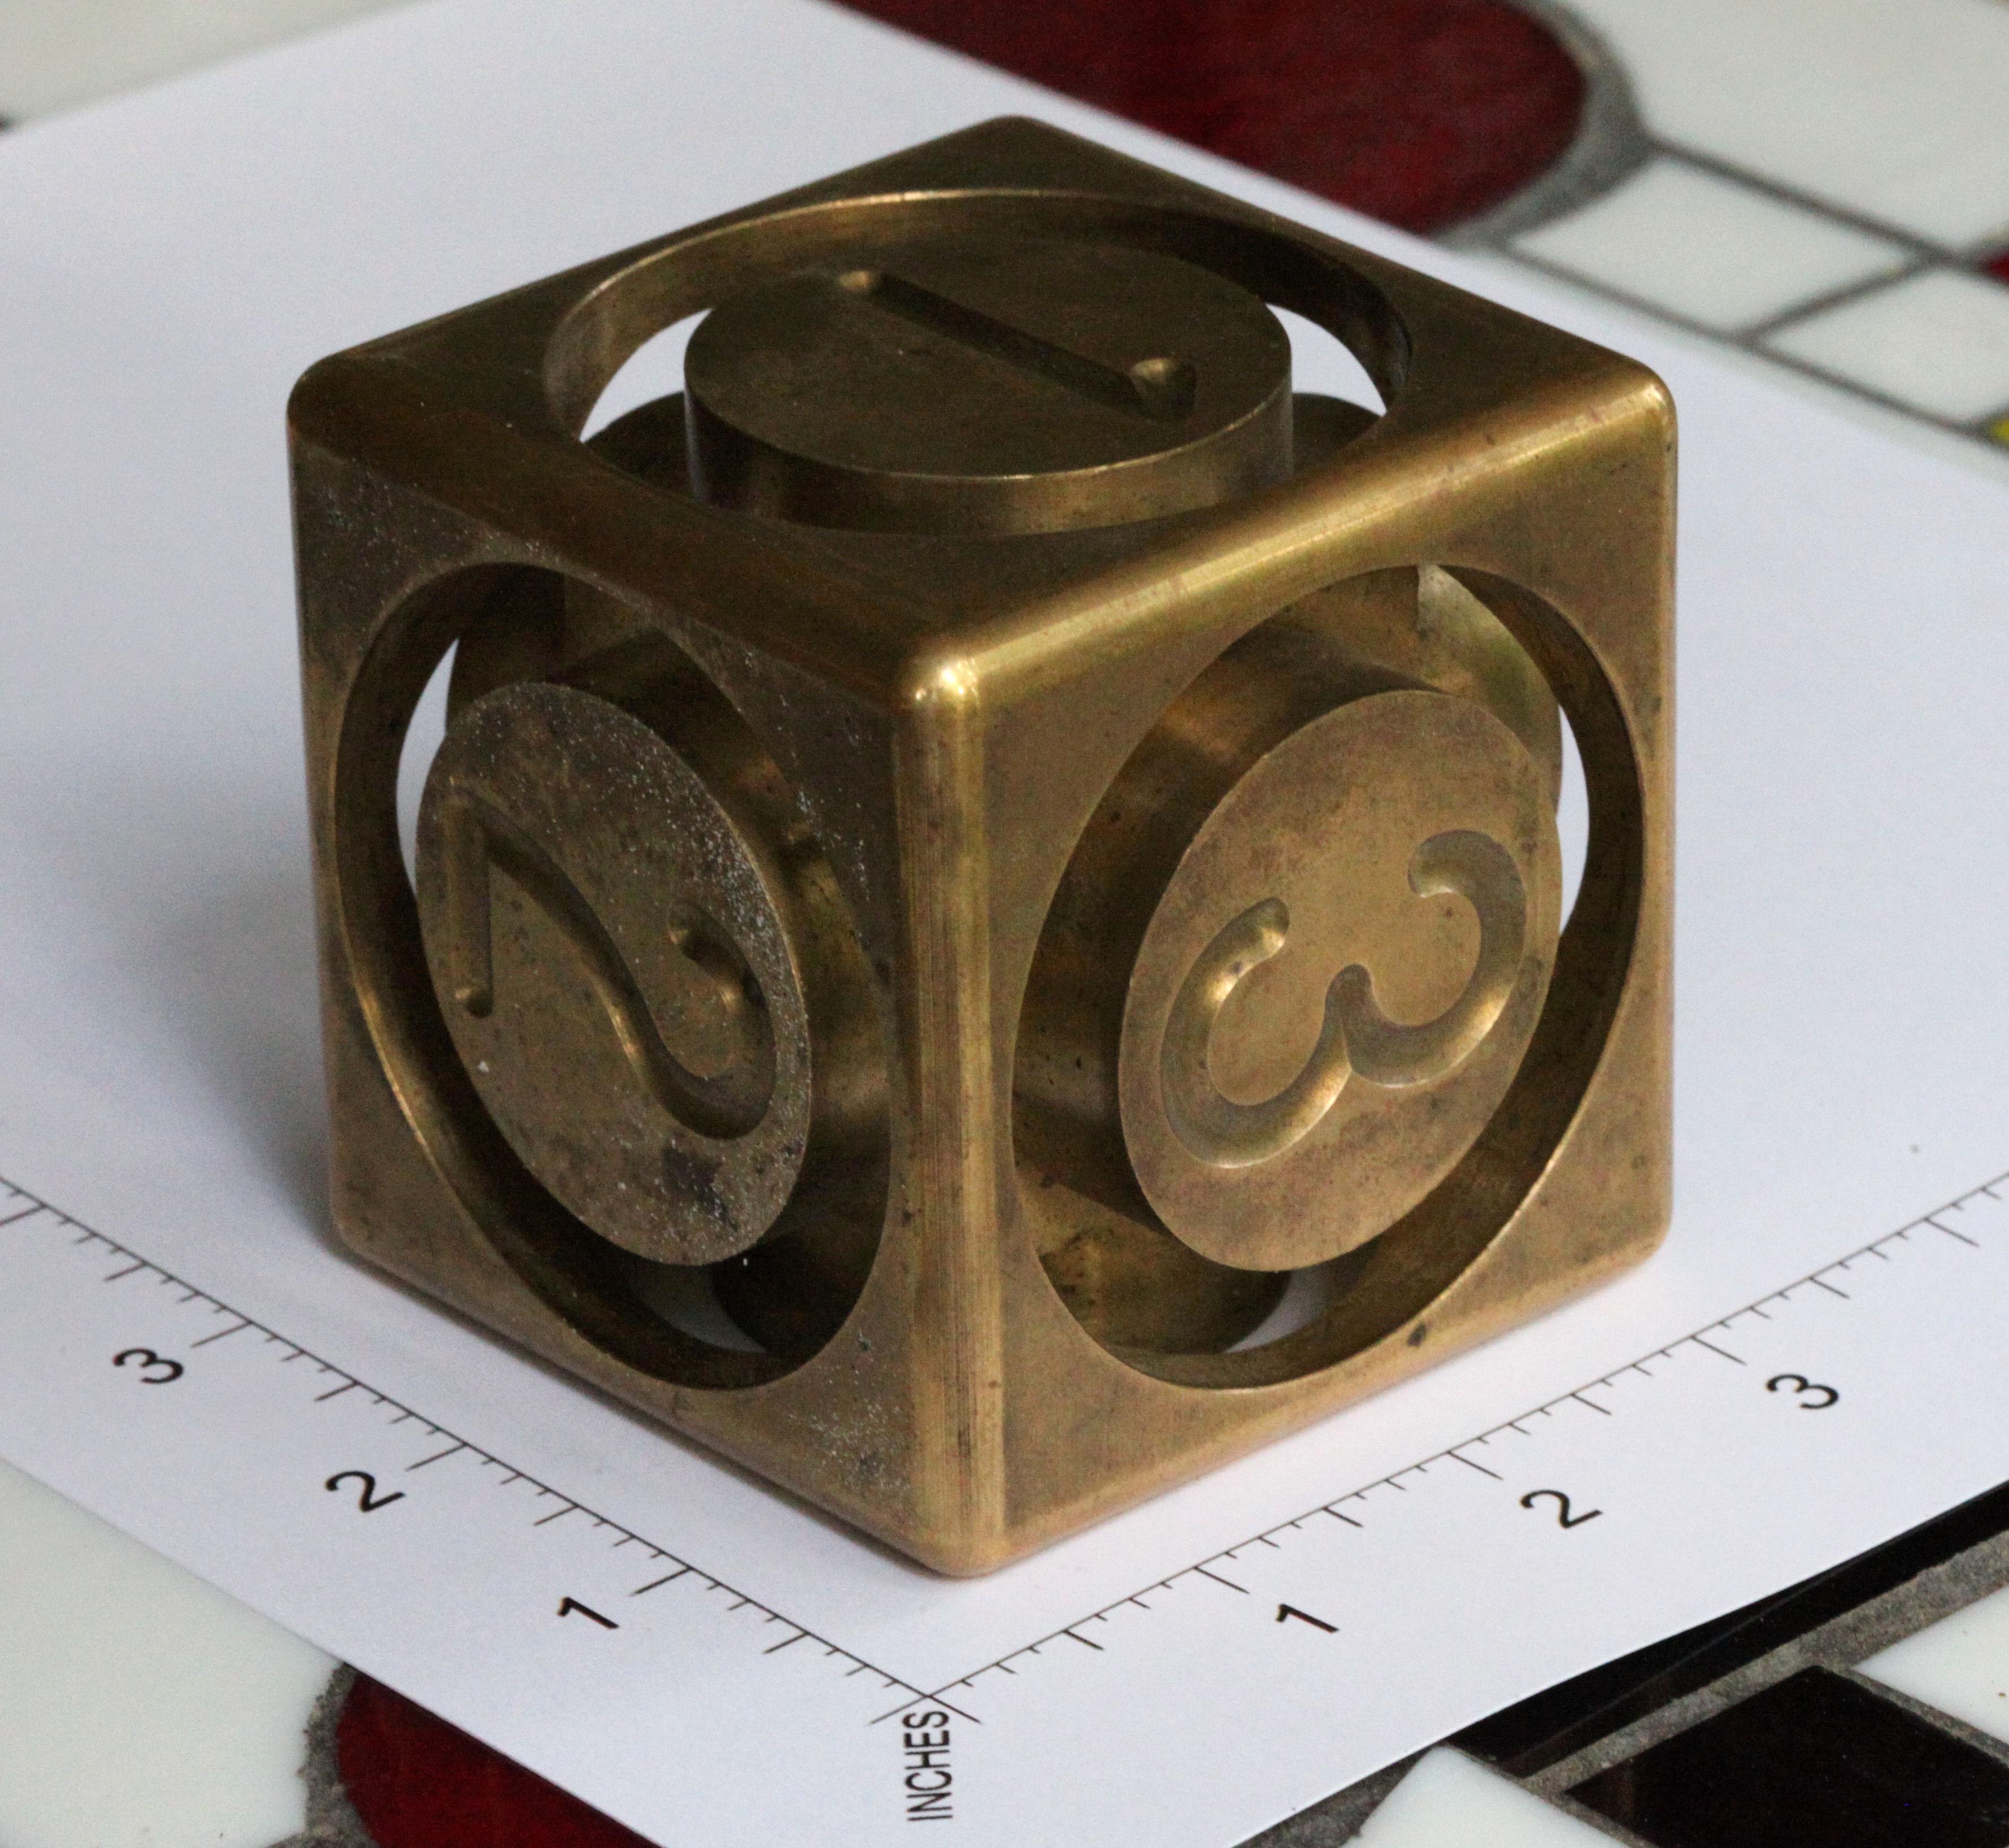
if you look up the 3 big dice you see in
the above photo ... I used the Canon to shoot those ... because the
focal length for the P880 is too short ... so I set them on the ground
Final camera ...
when I want a REALLY good shot ...
I use my Canon 5D Mk II (21.5MP DSLR)
with either a 50mm or 100mm Prime lens
a lot of the game box shots you see ...
are taken with the Canon 5D ... outside ... in direct sunlight
are taken with the Canon 5D ... outside ... in direct sunlight
but sometimes ... I take them inside ...
from across the room ...
with the 4 point lighting arranged to minimize shadows
with the 4 point lighting arranged to minimize shadows
Here are examples of my photo templates
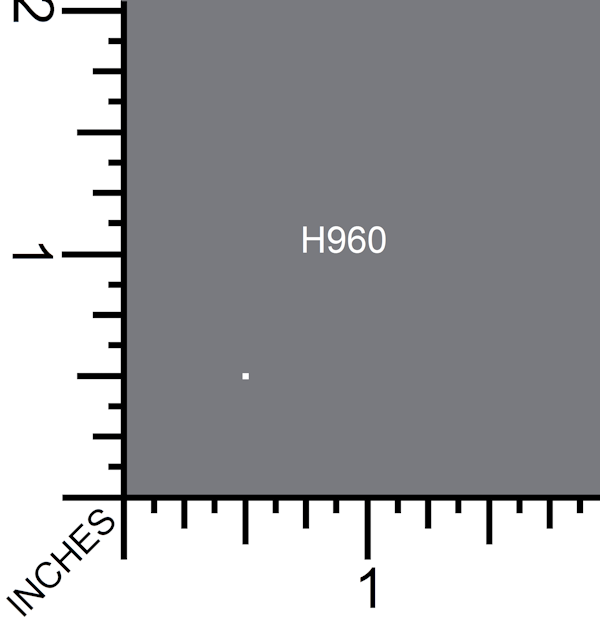
Template used for MTG spindowns
Camera Settings: 100mm zoom and 2.0 digital zoom
NOTE: H960 means the spindown needs to be 960 px high
Camera Settings: 100mm zoom and 2.0 digital zoom
NOTE: H960 means the spindown needs to be 960 px high
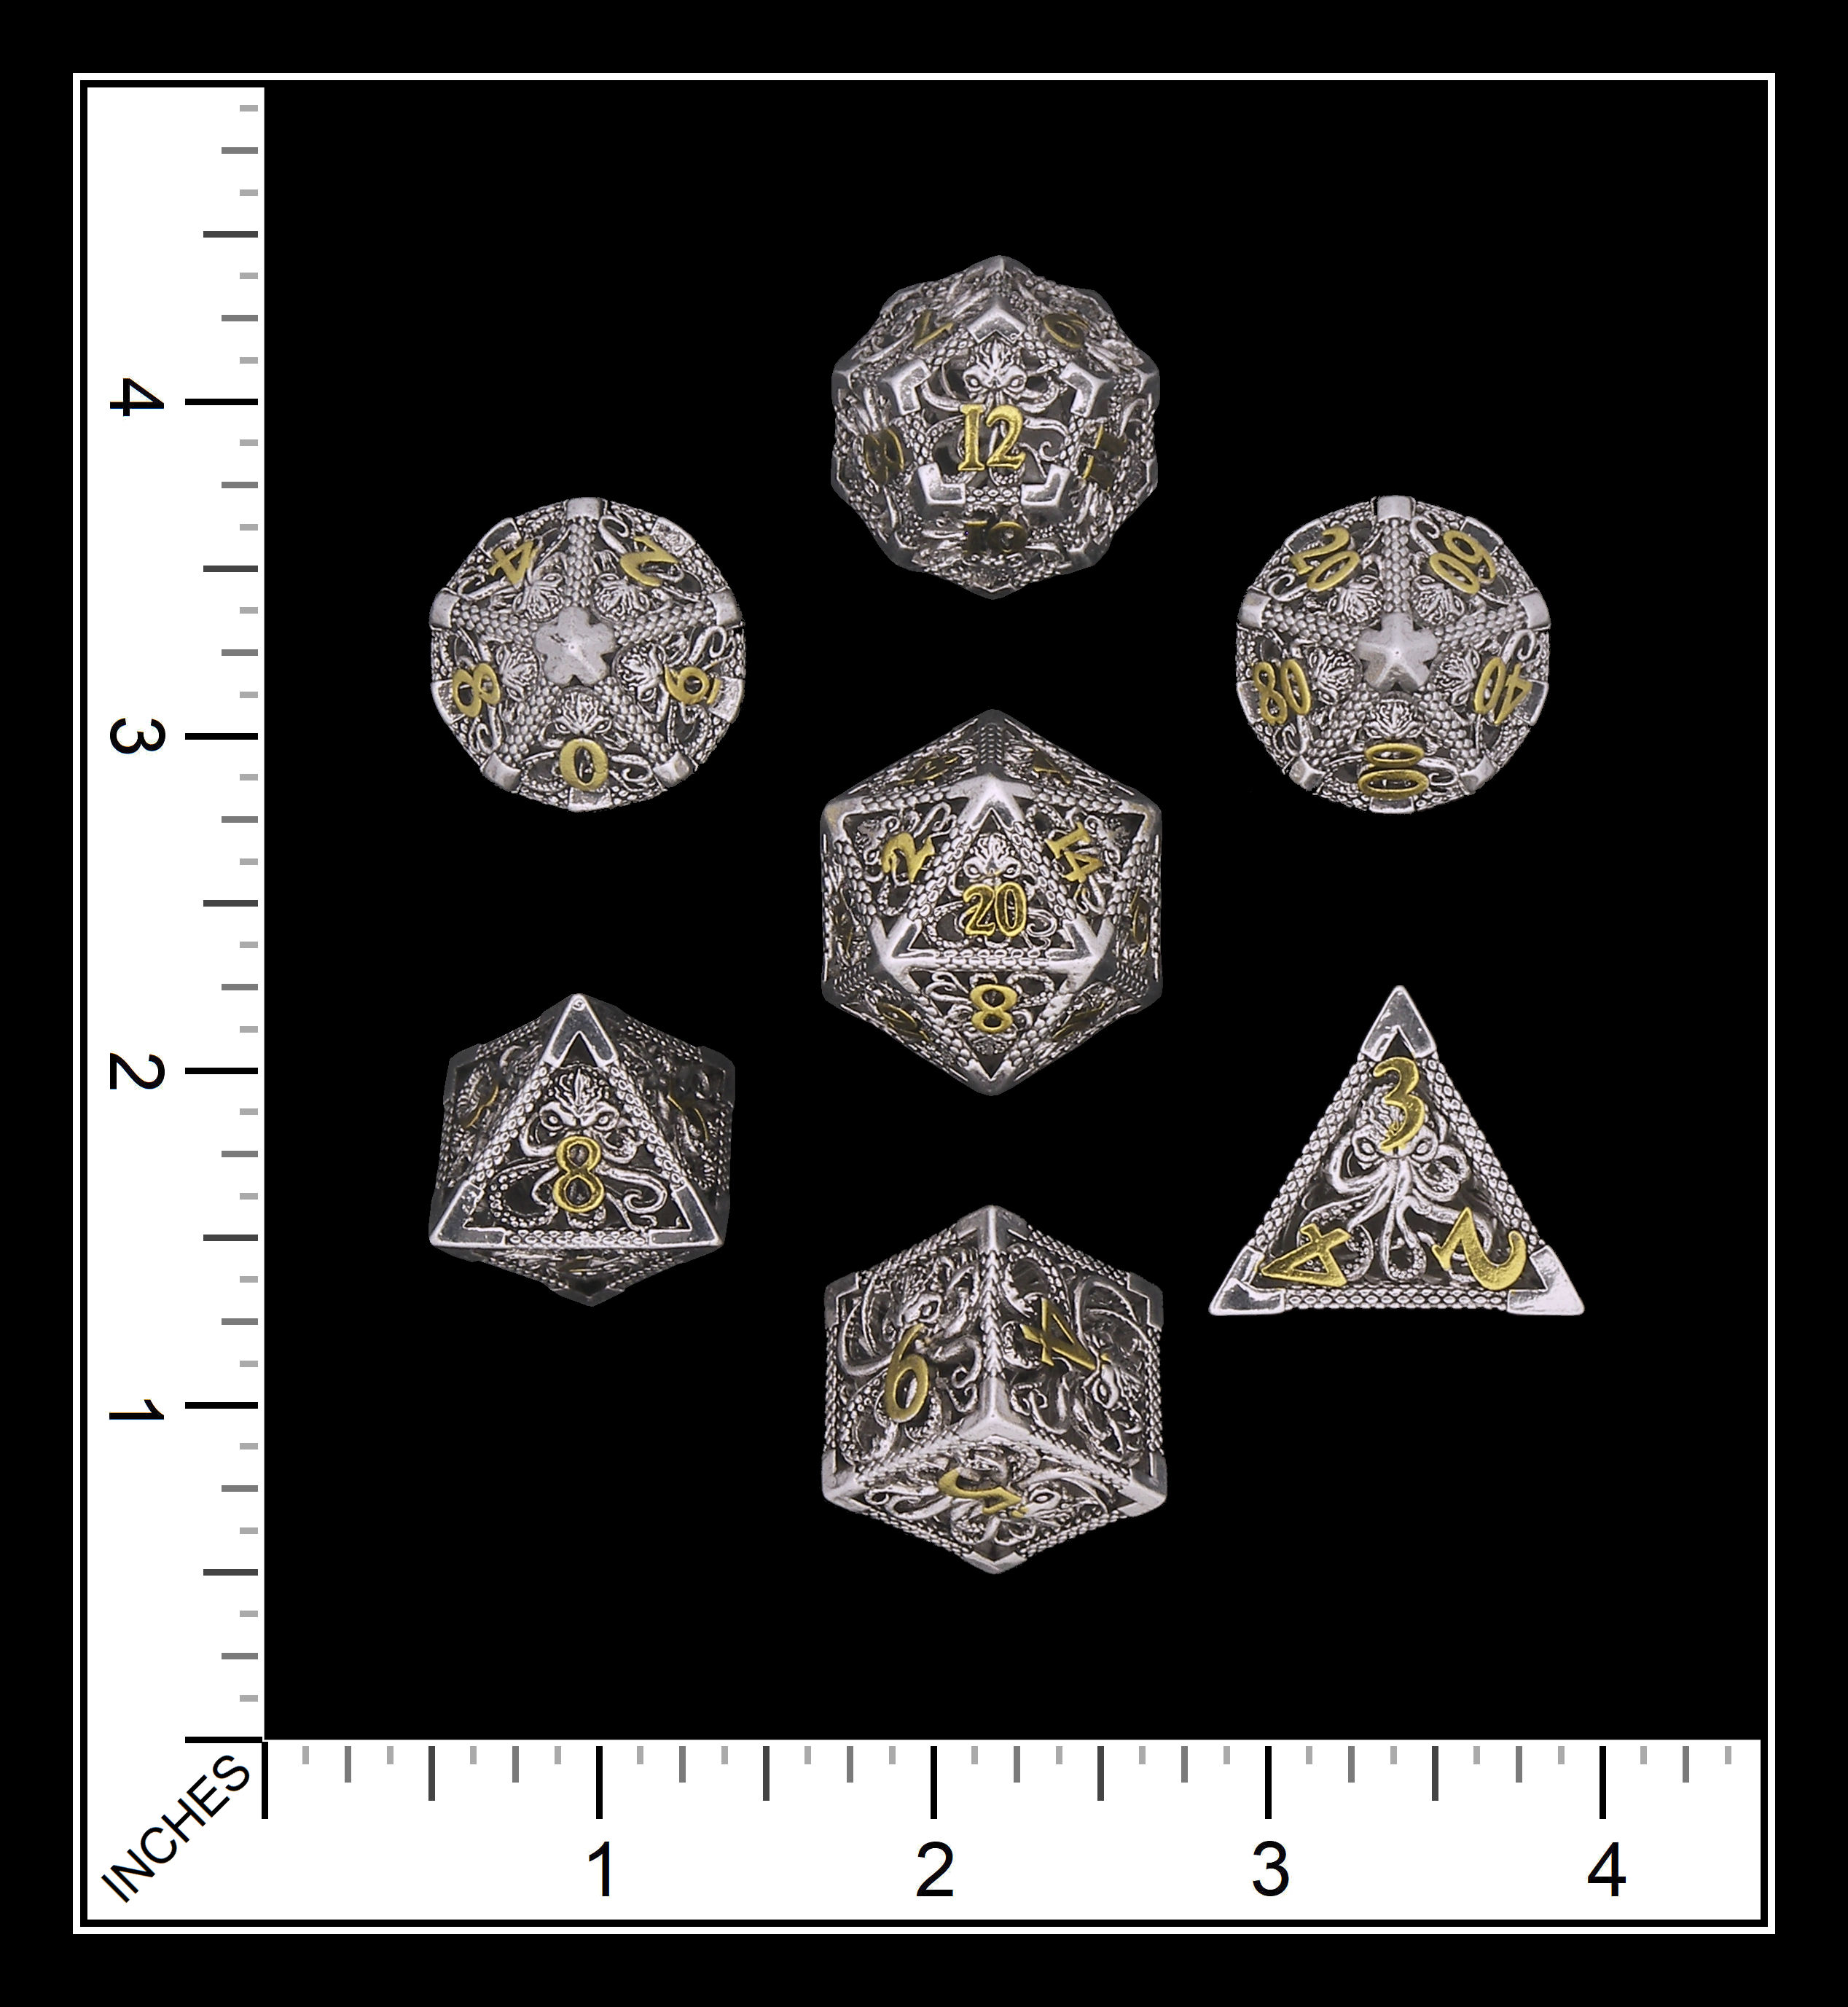
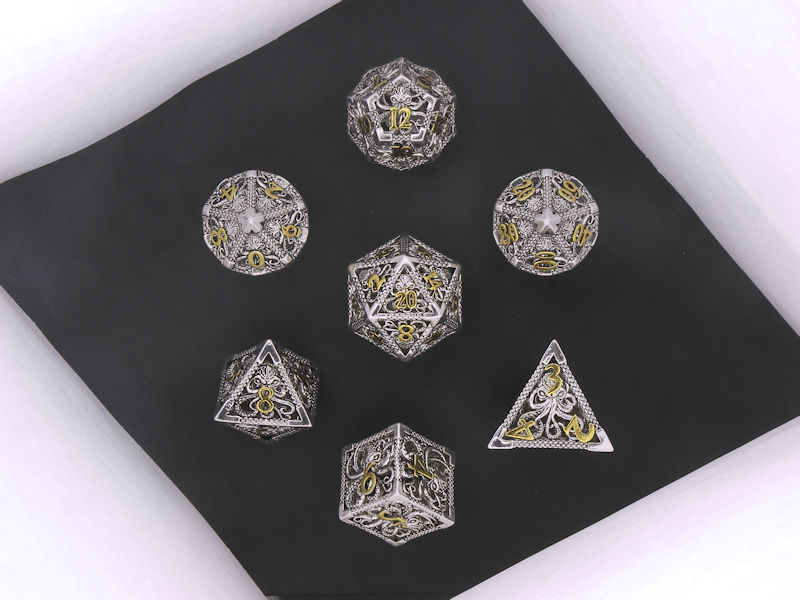
Generic template ... 100mm zoom ... no digital zoom ... black background ... this likely my most used template ... and is used for most 7 die set shots

Here is 100mm zoom ... 1.4 digital zoom ... white background
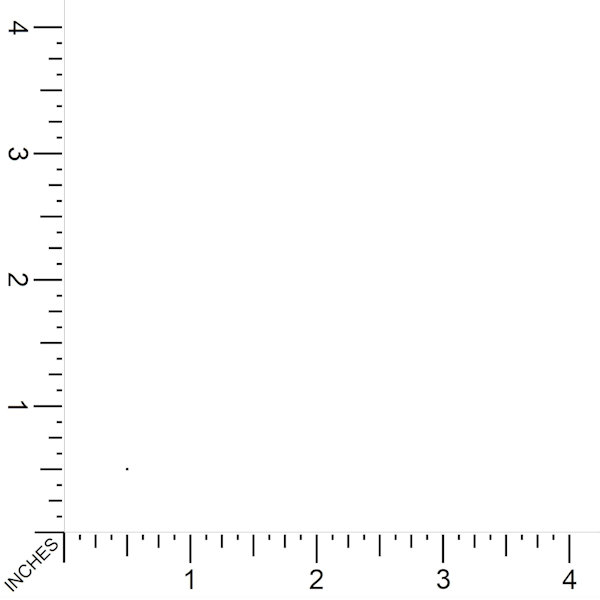
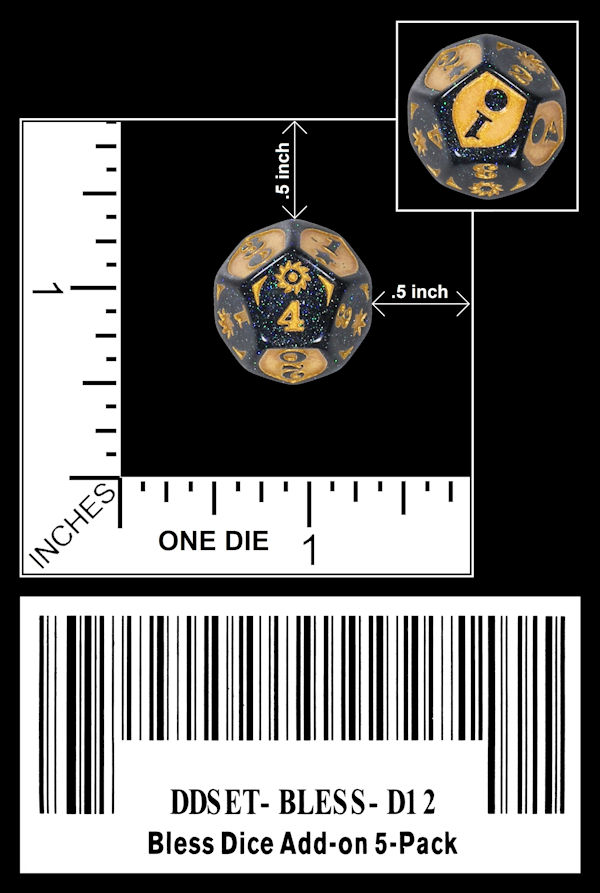
and finally ... 100mm zoom ... 2.0 digital zoom ... black background ... this is my most used template for shots of a small number of dice
I devised these by taking shots of a physical ruler ...
then I manually drew a ruler ...
and then I sized the drawn ruler DOWN to the size of the actual shot ...
later I came back and cleaned up each ruler shot ... to make them crisp
I did this for a couple of reasons
1) I keep breaking the physical rulers
(made of .25 inch thick pvc sheeting
2) even with a lot of work ... the
physical rulers just aren't crisp like the digital shots
So ... each time I take a shot ...
I choose 100mm zoom ... and either 2.0x ... 1.4x or no digital zoom
Based on whether the die / dice will fit in the frame
take the photo
crop out the background (this is why I
have the differing color plastic sheets)
then paste them into the appropriate
size template
Crop that to .5 inch around the die /
dice
then sometimes add BORDERS
Too much Info?
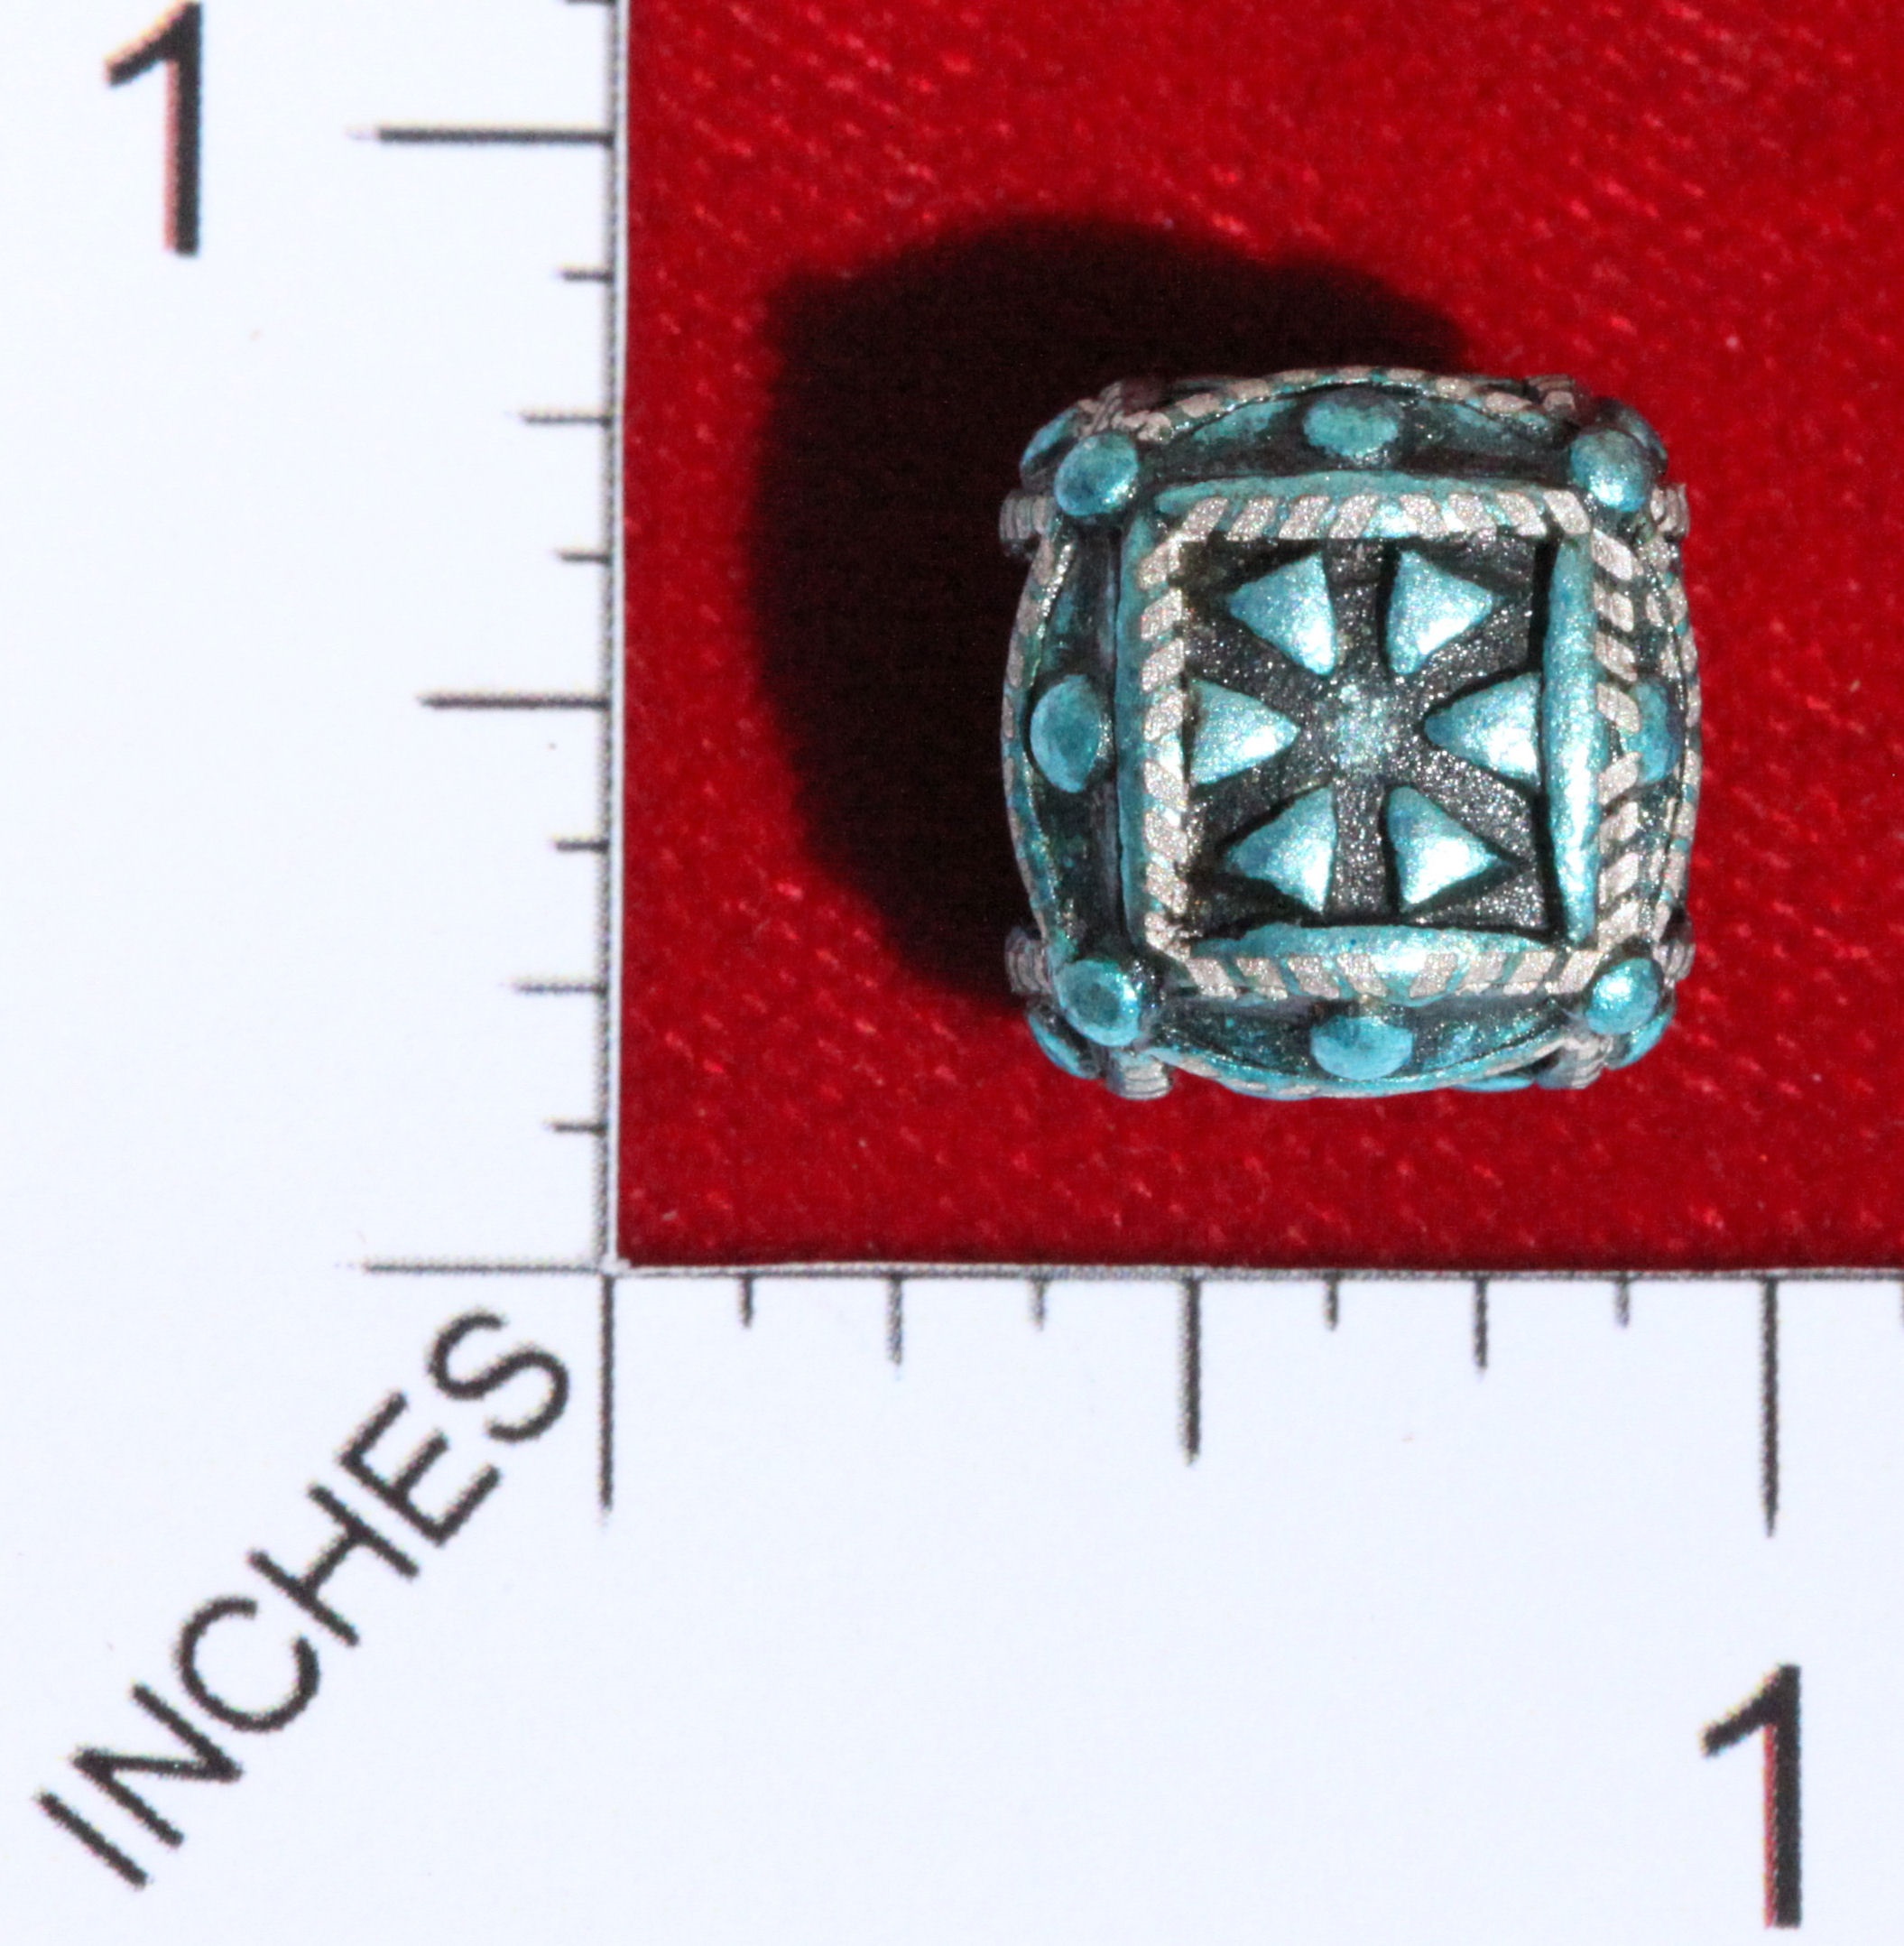
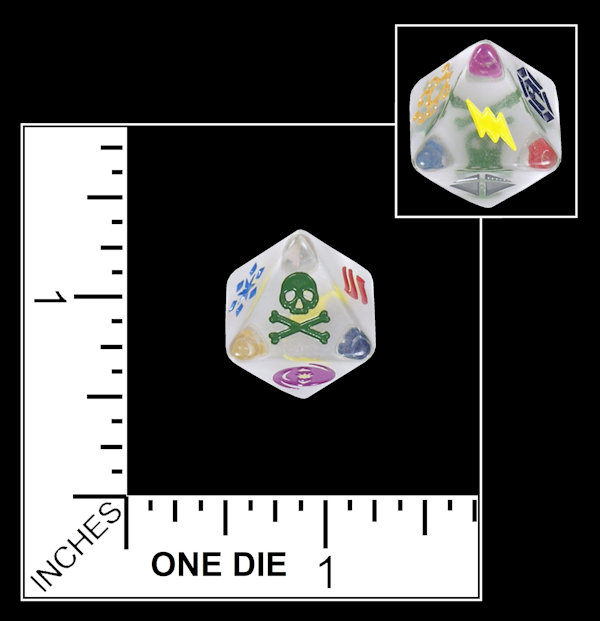
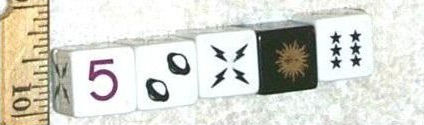
Here is an example of a die taken with the Canon SD 960 (12.5 MP) camera
How do I know which camera was used (besides just remebering)?
I look at the EXIF (Exchangable Image File Format) data
that is stored with any photo and contains a lot of info about the photo
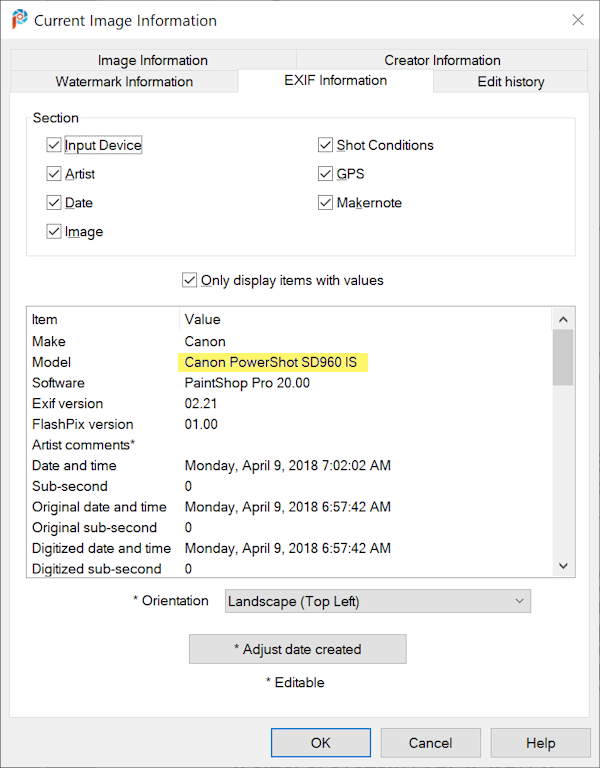
That is a boatload of info
I was thinking about making a personal catalogue of the dice, and got stuck at the pictures part.... it's a LOT of work.
It is a lot of work
I have been doing it for over 20 years
at least the database goes back that far
Woah, that's half of your entire life!
That's super useful info, I think a lot of people would be able to use
What would you say is the most important part of the dice photography?
Obviously, all of the info is
But if for example you would be on a bit of a budget, or were limited to your phone or something
Would lighting, distance, or post-picture-editing be most important?
My guess would be lighting..... but I'm not sure
Excellent question
I think a lot of professionals would say ... the camera equipment ... but I do not agree
A good photographer can do a lot with just about any camera
And a lot of people sure don't have (semi) professional cameras laying around, but do want pictures of their dice
You are right (IMO) ... I think first and foremost is Lighting
you can't correct bad lighting after the photo is taken
So you mentioned " 4 LED lights ", could you elaborate on that ?
Like: - how to position - what type of LED, white light or something else?
I don't know if there is multiple types of LED to be complete honest
100 Watt Equvalent (14 w actual) ... 1600 Lumens ... 5000k (DAYLIGHT)
How to position - I originally used 3 point lighting ... but I found I still had shadows
so I moved to 4 point lighting on the 4 corners (as seen in the photo above)
That daylight is important to mention I believe
Yes ... very important
Soft White bulbs do not give true white light
And I think it's a good tip to get LED lights that have the bendable stands so you can tweak them after you took the photo right, like you mentioned?
(related to positioning)
Yes ... the 'goose neck' adjustable desk lamps help with eliminating shadows
Also, in regards to positioning.... I see with your setup the camera is above the lights
Is that important?
To remove potential shadows from the camera itself or something?
Not really ... as I take most of my shots ... straight down
The 4 point lighting eliminates the shadows
Do you use the same setup at an angle?
I do sometimes ...
for instance when taking photos of box front and back (mentioned above)
Why do you use plastic as undercover / background? And not for example wood, metal or cardboard?
Wouldn't plastic bend over time?
I know the different colors is important for background removal right?
Here is an example of an oblique shot
Regarding Background / undercover
I started using cloth ... but it kept getting dirty
and is harder to crop out
I have used wood ... but just for effect
No ... the plastic sheet won't bend as it is set on a flat table surface
And it is pretty thick
See the table in the 4 point lighting photo?
Regarding background color ... and removing the background ...
You are correct ...
if you can have negative colors (white bg / black die ... green bg / purple die etc)
It is easier to remove the background
Ah nice, the wood background photo was shot before you used the digital ruler right?
Yes
The color of the background helps with the cropping ... as well as the overall effect
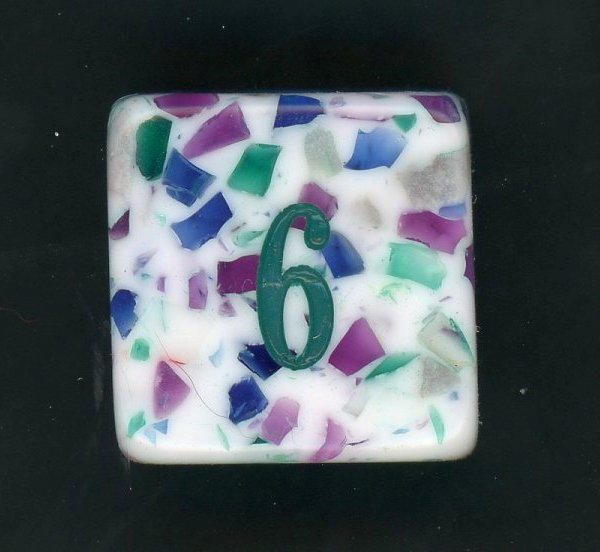
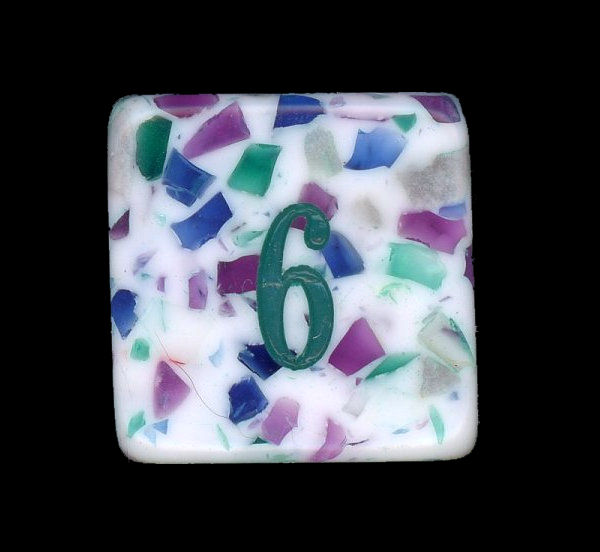
Let me show you
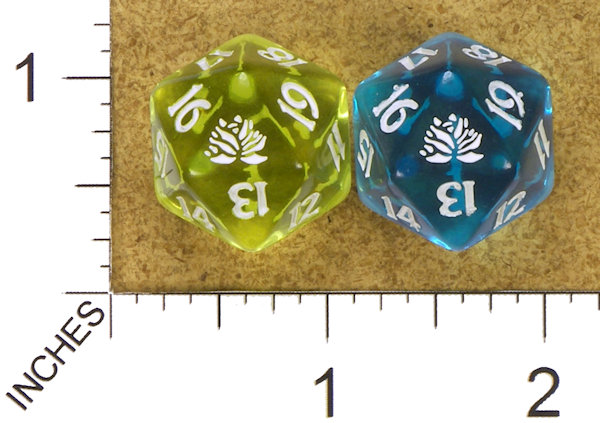
This die was taken with a white background ...
and then was cropped to black. This gives a kind of 'backlit effect'
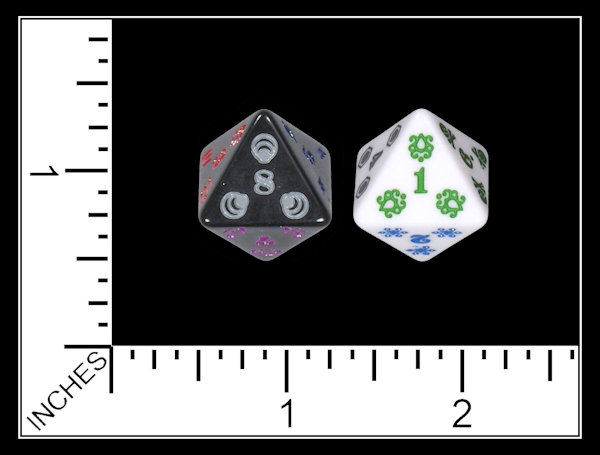
In this photo
the white die was taken with a black background
... and the black die ... with a white background ... to make the dice stand out
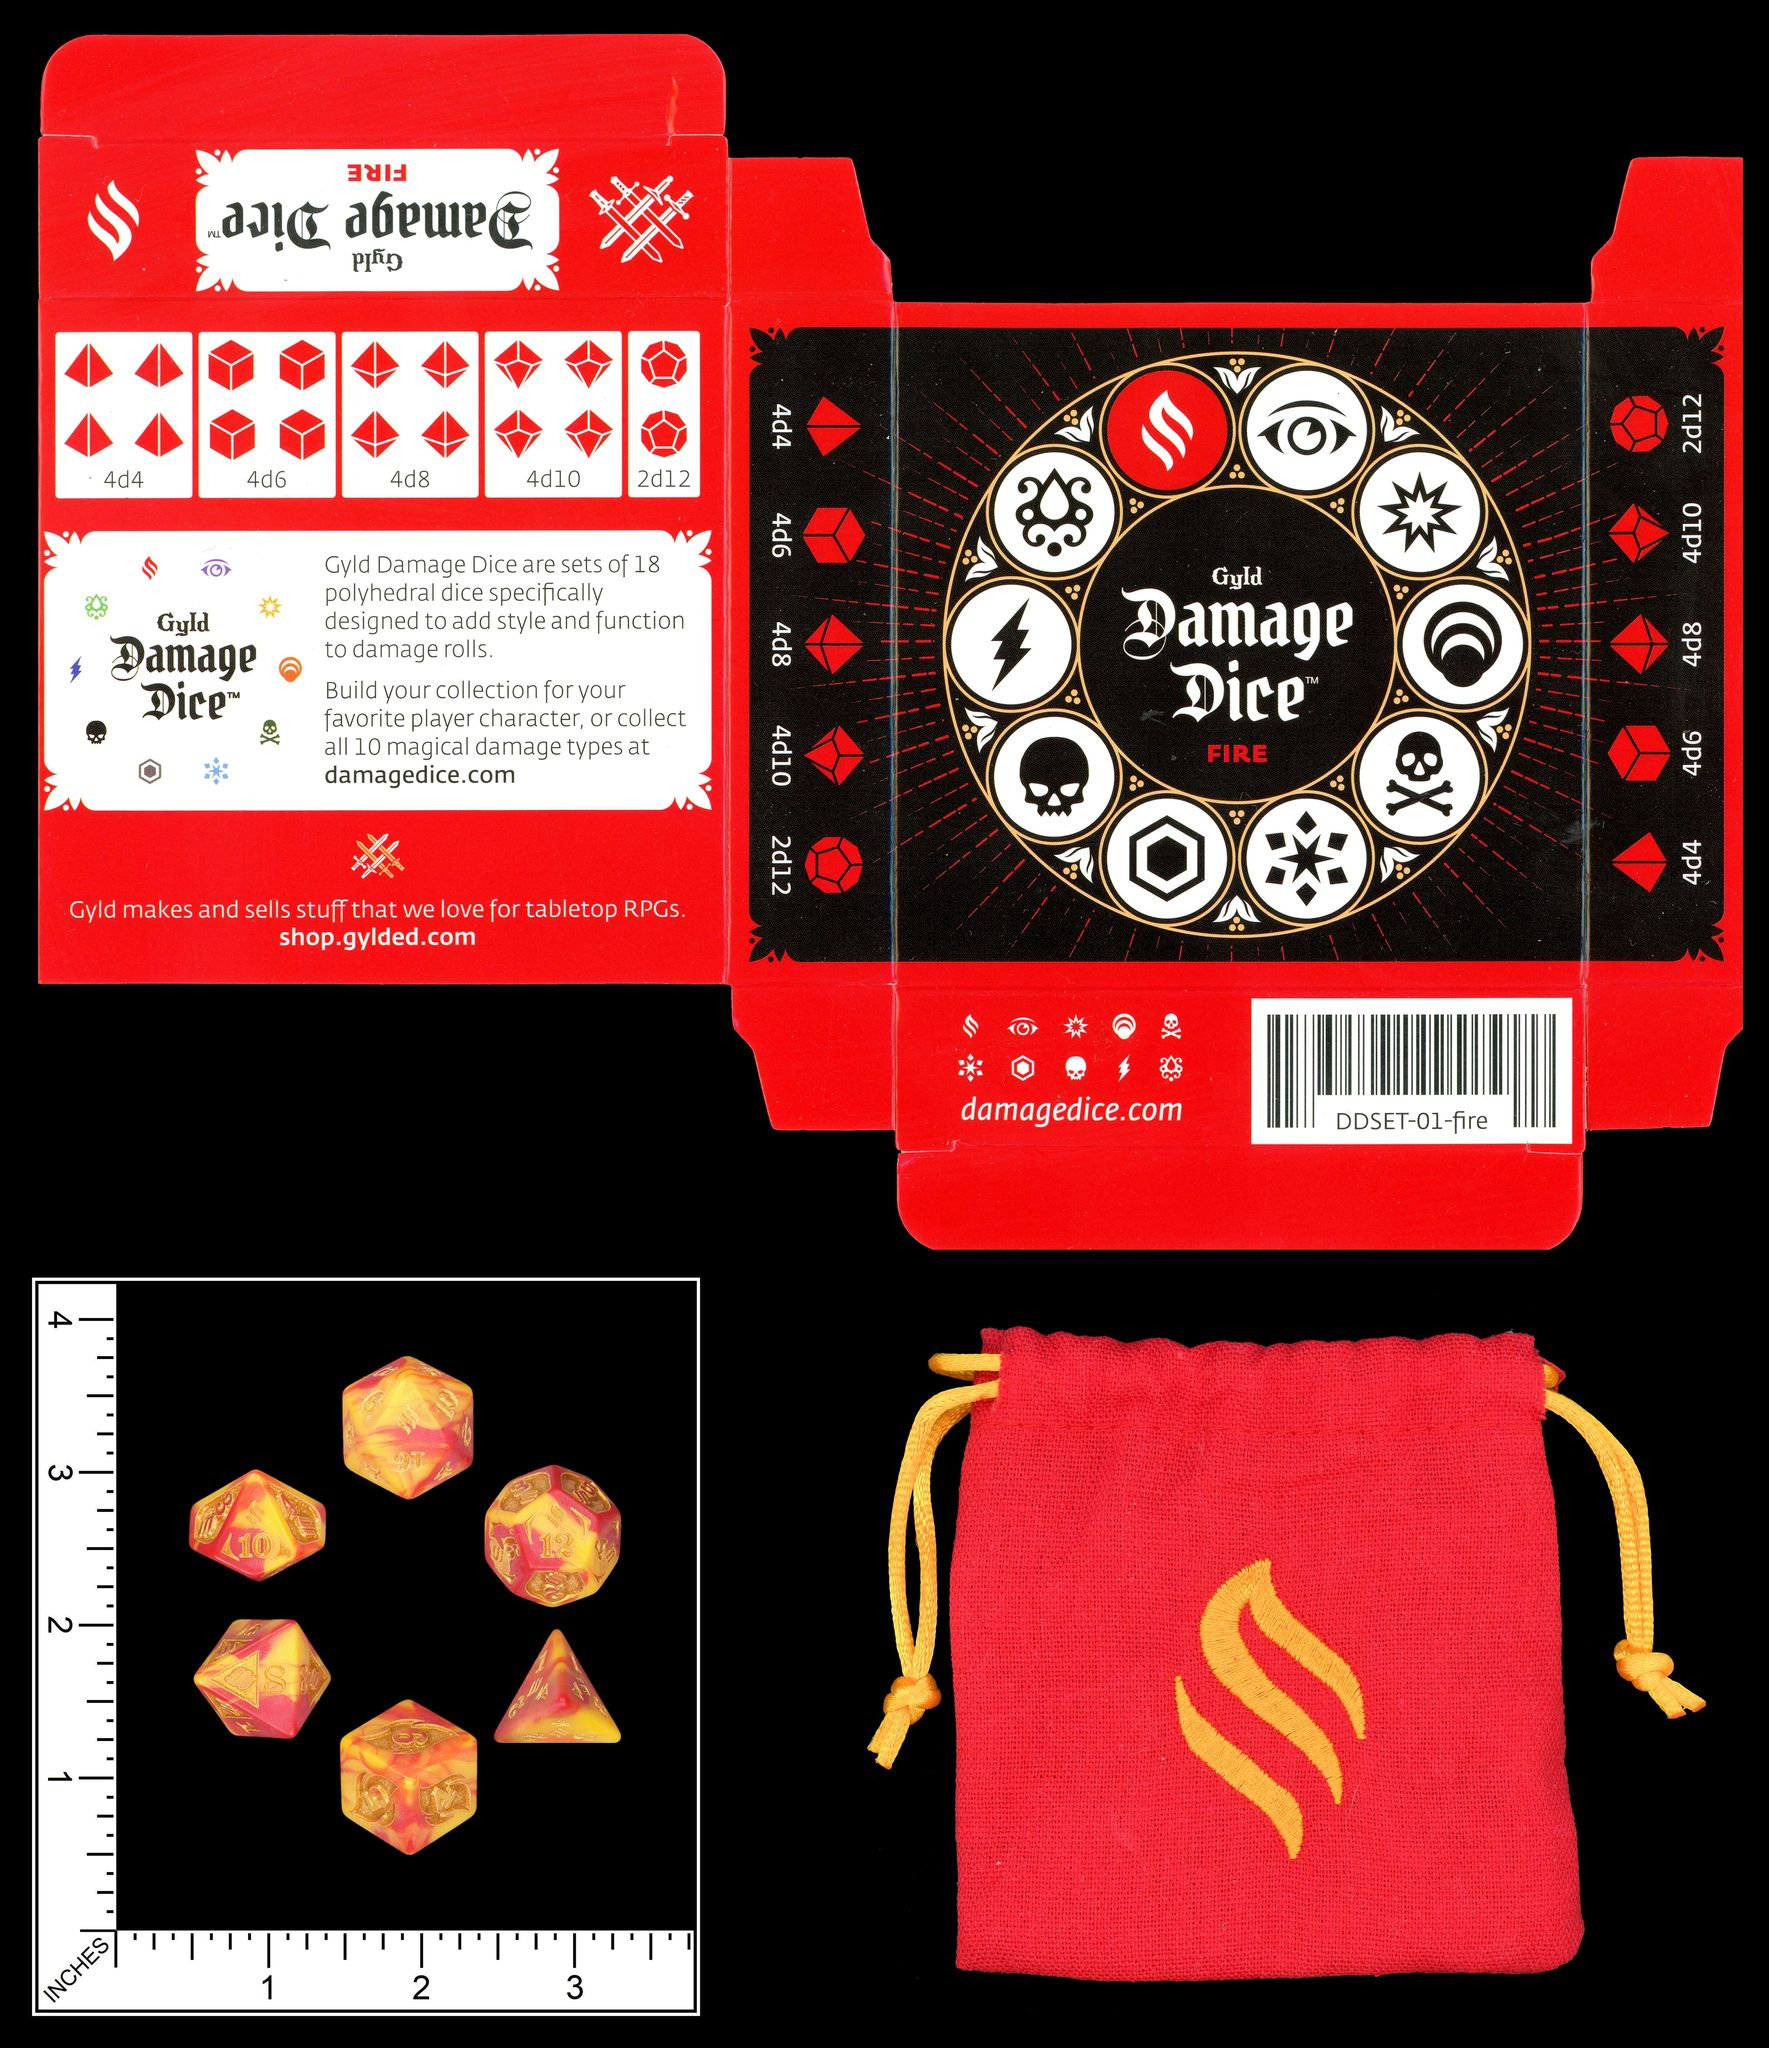
the dice were taken with a black background ...
then the background was cropped to black
The dice bag was taken with a white background (easiest to crop)
and then cropped to black
So you use an opposite complementary color for the background?
Sometimes
depending on the color
OH ... I forgot to mention ... a 4th camera ... and 2nd most used
Epson Perfection V600 Photo ... flatbed scanner
it is different from most as it allows depth of field
For stuff like boxes and packaging?
Yes
It only has a 9x12 inch bed ... so I am limited in size
I used the plastic sheets with the scanner as well
You keep mentioning the cropping, how do you do that ?
I use 2 methods
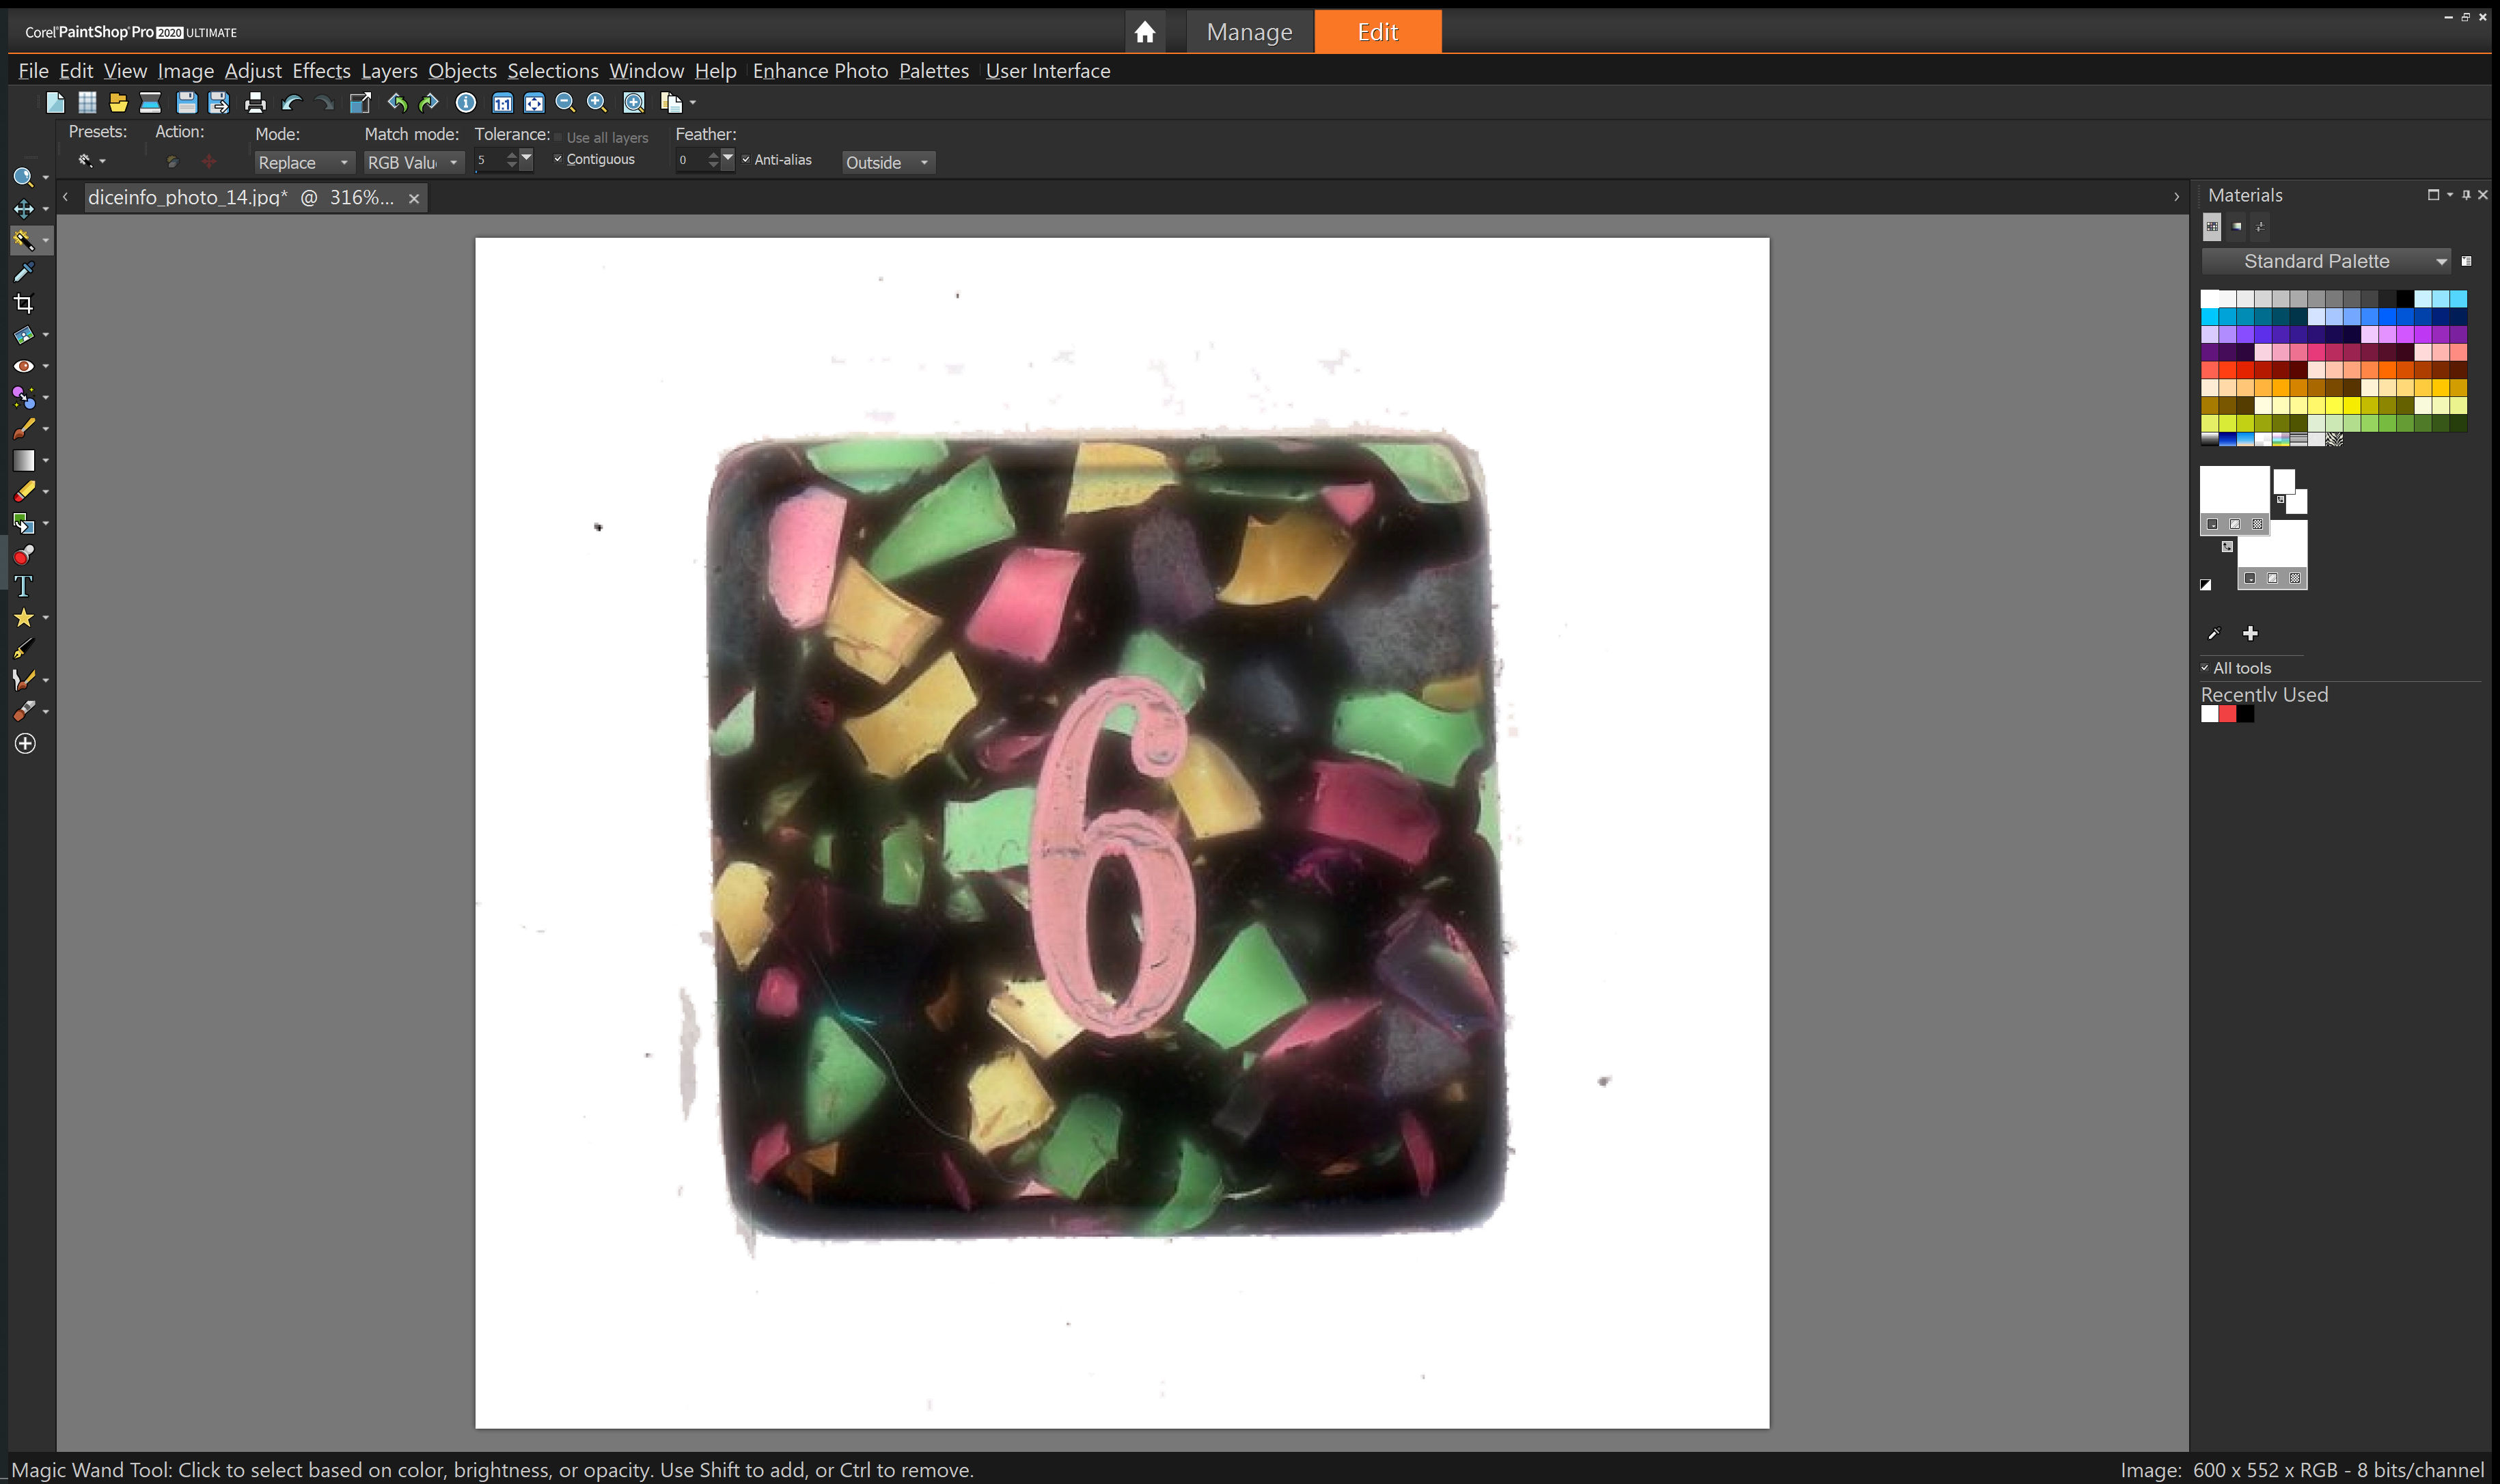
1) I edit the photo with Corel Paint Shop Pro ...
and use the magic wand (tolerances from 1 to 32) and other tools
to select part or all of the area to be cropped
Here is an example
ORIGINAL SCAN / PHOTO
NEGATIVE IMAGE (light colors are easier to crop)
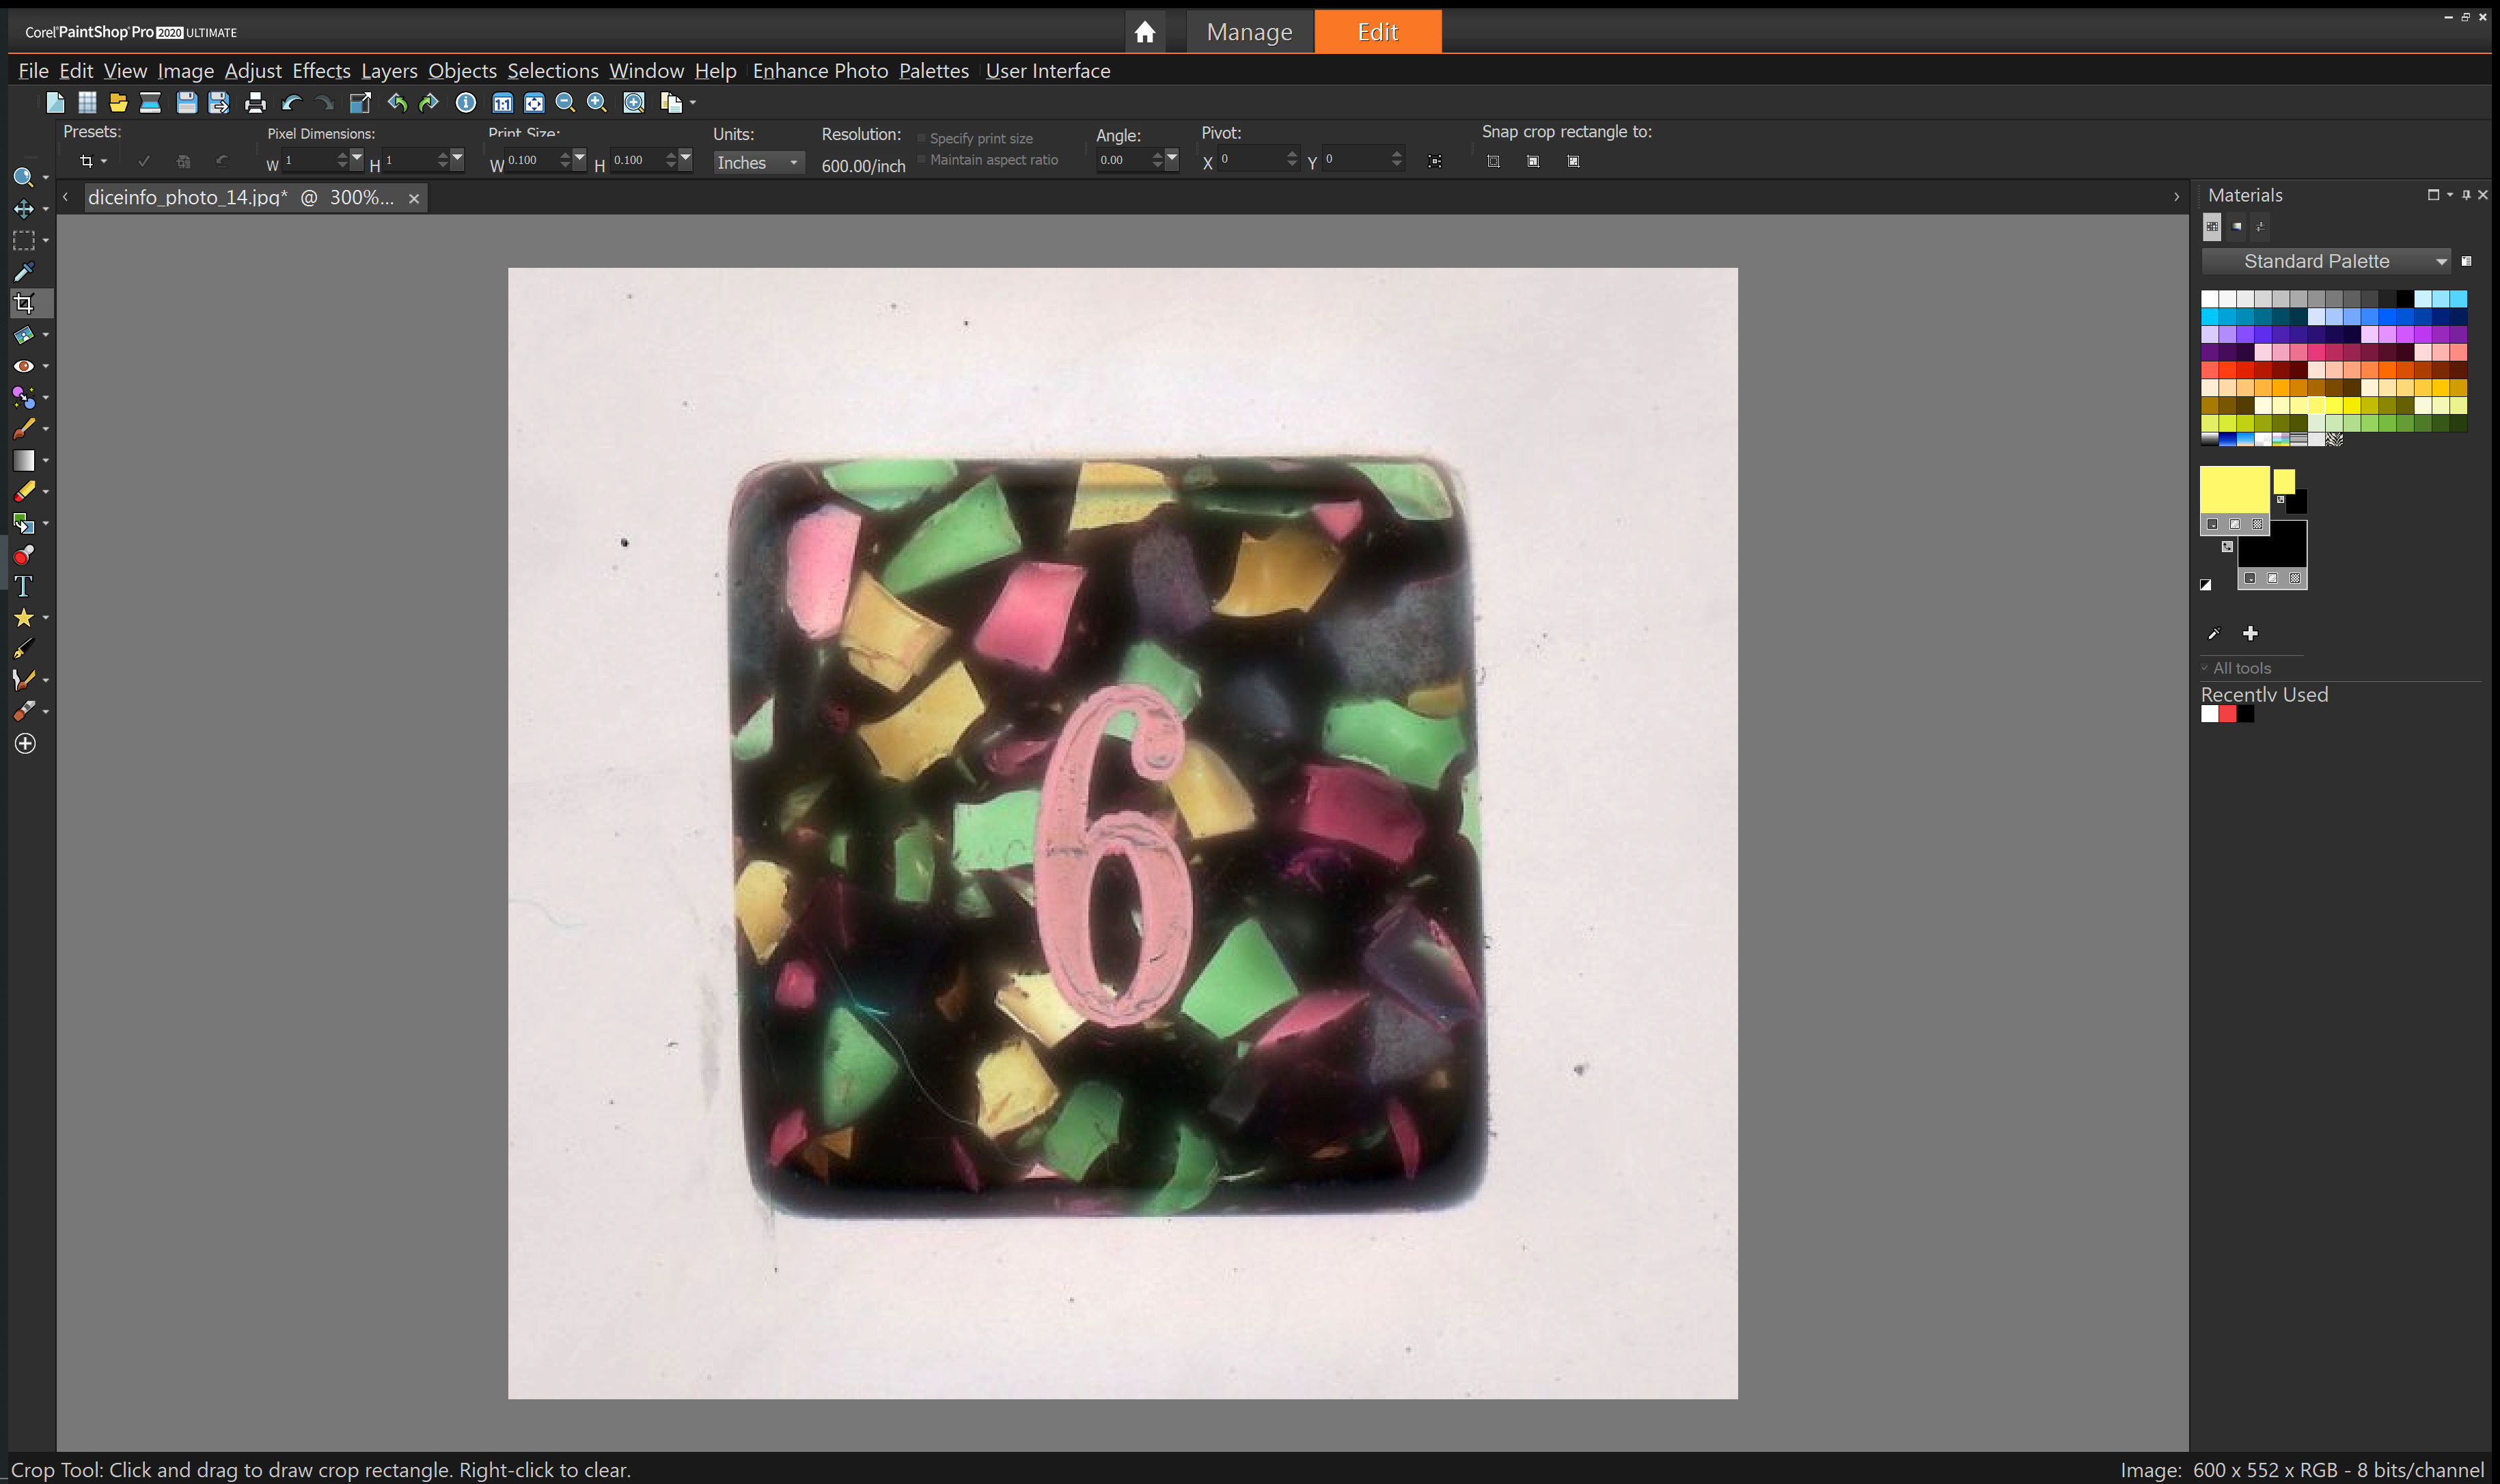
CROPPED IMAGE with intentional mistakes
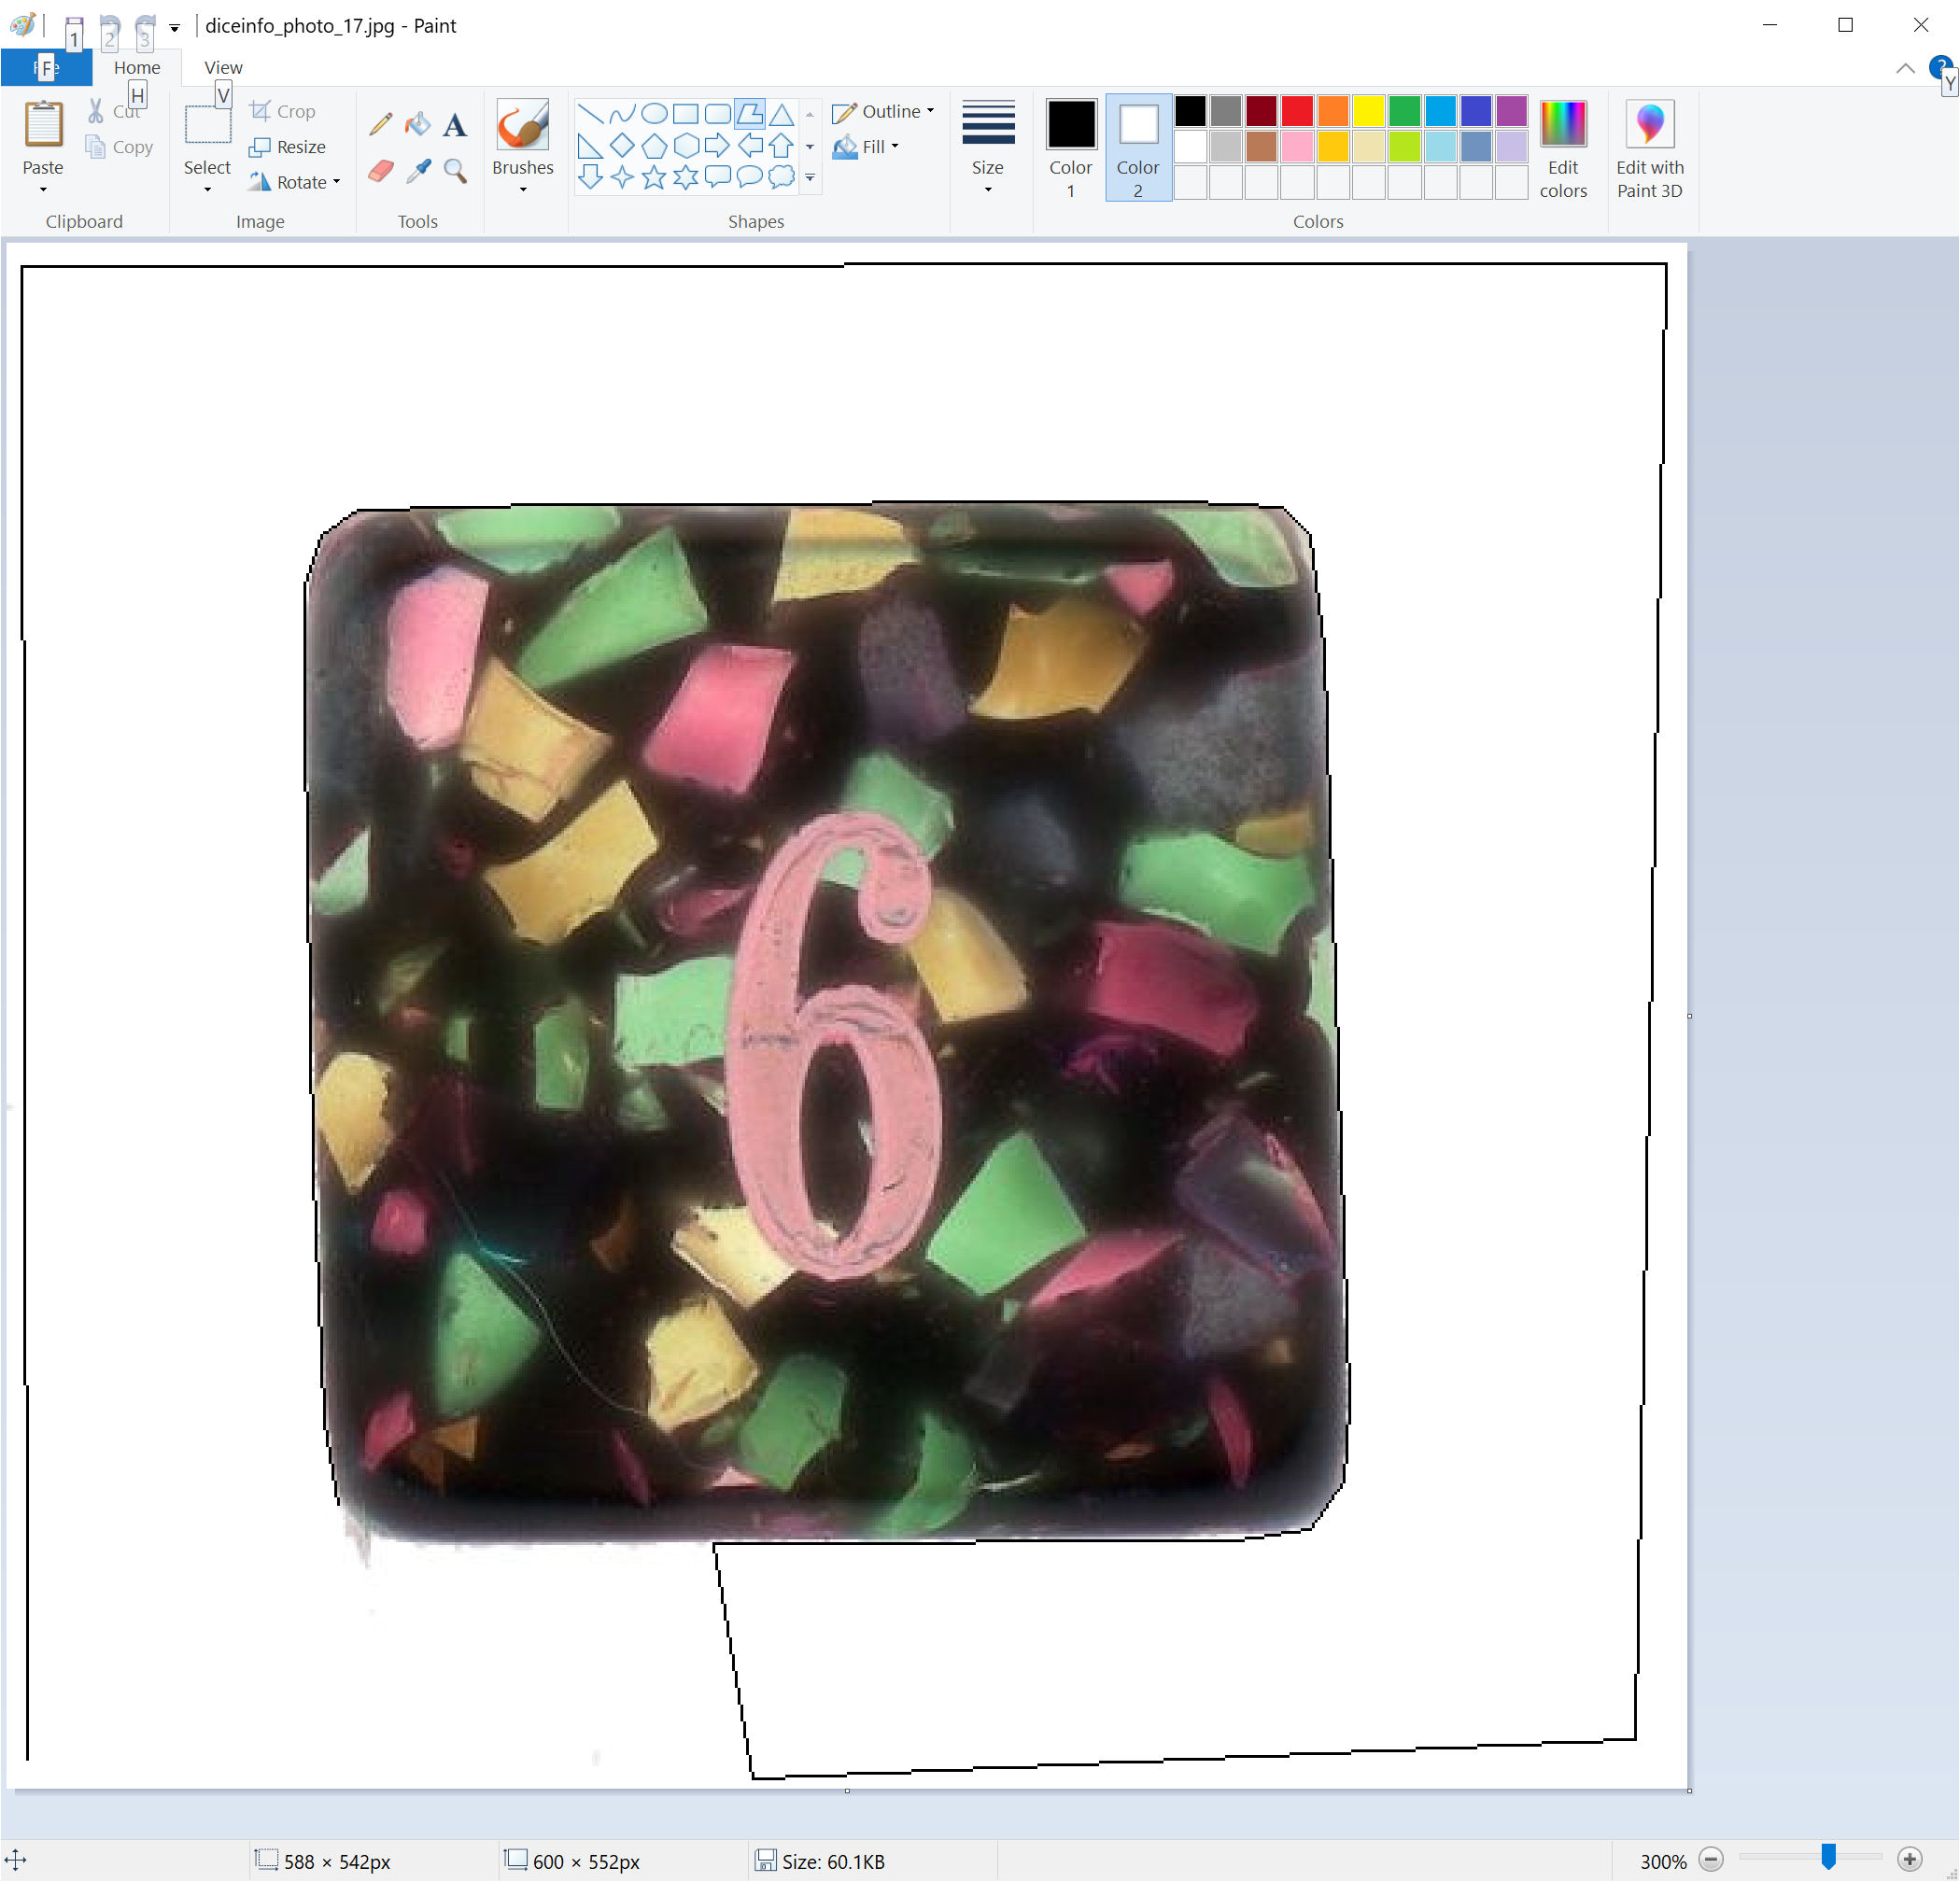
2) if Corel can't crop the image well (leaves jagged edges etc) ...
I manually crop it (i.e. draw out the background) using the OLD ... Windows Paint
EXAMPLE USING Windows Paint to clean up the mistakes from above
NOTE: I left the Color 2 black so you can see the boundary of the crop
Once the background is cropped out ...
the photo is then made negative again for the final result
I find it easer to use than Paint 3d
Sorry for asking so many questions :)
No ... this is perfect ... I plan to copy this to a webpage
I think I understand most of it now, which would mean everybody with lacking knowledge can
I'm browsing through your page to see if I can think up anything else regarding the picture part
Could you explain how exactly you determine what size you use as background?
You mentioned that you measure the die (or product)... and then pick your template right?
That part is a bit vague still for me
I use the camera to determine if 'the subject' will fit at 100mm ...
2.0x ...
1.4x ...
or no digital zoom ...
then take the photo ...
and from the camera settings ... I choose the template (see below)
If it won't fit at all in 100mm ... I then include a ruler in the photo ...
so I can index it with other templates
So, which of the camera setttings determines the template?
Like, what direct correlation is setting X = template Y
the digital zoom determines the template
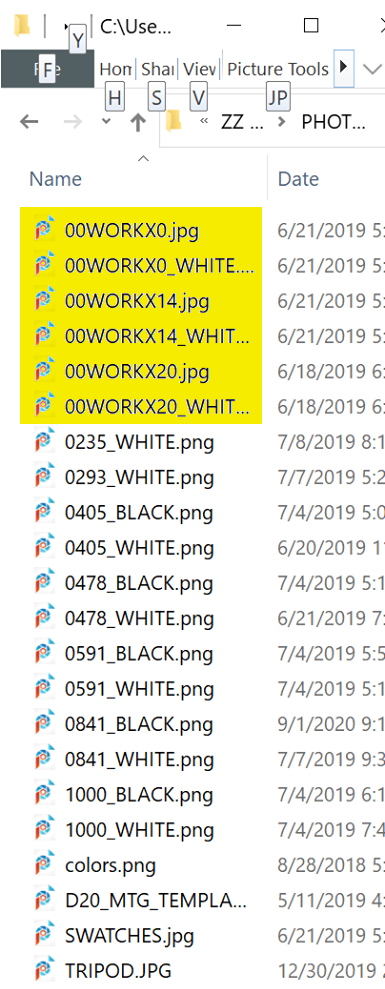
0 - ( no digital zoom)
14 - 1.4 digital zoom
20 - 2.0 digital zoom
Last question! at least for now
When you upload the pictures to the website, I see that they have very varying sizes.
Do you crop the templates according to the shape/size of the product?
Or is this a result of changing the process along the years?
Example:
If you go to your site
brands -> wizards of the coast -> alllll the way down -> D&D encounters
They show as different sizes on the site
But the dice are the same size (if I look at the ruler)
I NOW crop the photo allowing .5 inch around the die / dice ... inside the template ...
then later I sometimes add borders ... packaging ... etc
Yes ... this was a process that was developed over the years ...
the digital ruler is new ... in the past 2 years
I like the addition
Well, that's about all I got I think. The process is at least a lot more clear now compared to your initial instruction
Not that it was bad by the way, please don't understand me wrong 🙂
But the complete picture (hah... picture..) is clearer now
LOL .. I think it was bad ... at the beginning
look at the PIPPED six-sided DICE container ...
and you will see a lot of rough photos
Yea I saw them
The cloth background too from earlier
DETAILED PROCESS STEPS
RAW PHOTOS with exporsure times between 1/30th of a second to 1/15th of a second
Cull the photos that are not needed
Crop the background to black ... straighten and contrast
Photo was taken at 100mm 2.0 time digital zoom
Choose Template and form photos
Add Borders and the photo is finished

RAW PHOTOS with exporsure times between 1/30th of a second to 1/15th of a second
Cull the photos that are not needed
Crop the background to black ... straighten and contrast
Photo was taken at 100mm 2.0 time digital zoom
Choose Template and form photos
Add Borders and the photo is finished
NEW PROCEDURE
I am not sure why I stopped but I am not using them again
Here is an unedited photo showing the diffuser
and here is the end result